 Save
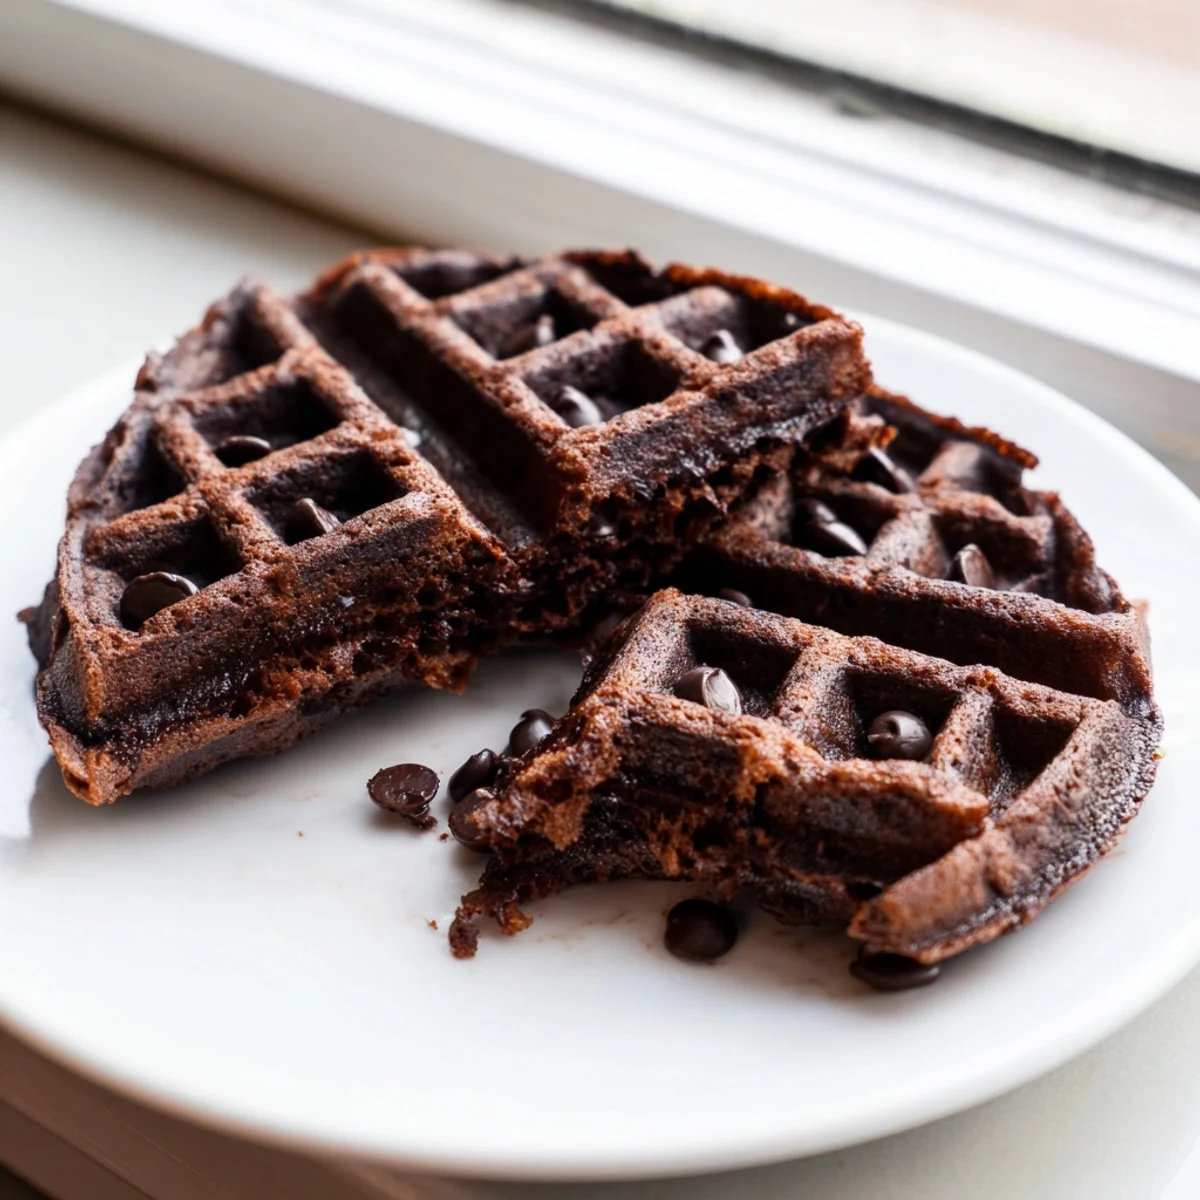
Save These fudgy brownie waffles bring together everything you love about a rich, chewy brownie with the golden, crisp edges only a waffle iron can create. A simple batter of cocoa powder, melted butter, eggs, and chocolate chips comes together in minutes.
Cooked directly in a waffle iron, each portion develops a delightful contrast—crunchy on the outside, soft and gooey on the inside. They're perfect served warm with a scoop of vanilla ice cream, fresh berries, or simply a dusting of powdered sugar.
With just 25 minutes from start to finish and basic pantry staples, these are ideal for a weekend breakfast indulgence or an effortless weeknight dessert.
My waffle iron sat untouched for two years until a rainy Sunday experiment changed everything in my kitchen. I had been craving brownies but lacked the patience to wait for them to bake, so I poured batter straight onto the iron and closed the lid. Four minutes later, the most ridiculous hybrid emerged: crisp edged, deeply chocolatey, and impossibly fudgy in the center. Now my waffle iron barely gets a rest.
I served these at a brunch potluck expecting polite interest, and three people immediately asked for the recipe while standing over the platter with forks still in hand. My friend Marcus ate two before anyone else got a chance and then tried to hide a third in a napkin for later.
Ingredients
- 3/4 cup (90 g) all-purpose flour: Just enough to hold everything together without turning cakey, so measure carefully and do not pack it.
- 1/2 cup (45 g) unsweetened cocoa powder: This is where the deep chocolate backbone comes from, so use a good quality brand you would drink in hot cocoa.
- 1 cup (200 g) granulated sugar: It seems like a lot but sugar is what creates that chewy fudgy interior, so trust the process.
- 1/2 tsp baking powder: A tiny lift keeps these from turning into dense hockey pucks while staying rich.
- 1/4 tsp salt: Do not skip this because salt makes chocolate taste like itself and balances all that sweetness.
- 2 large eggs: They bind and enrich the batter, and room temperature eggs blend more smoothly into the melted butter.
- 1/2 cup (115 g) unsalted butter, melted and slightly cooled: Let it cool so you do not scramble the eggs, but keep it warm enough to stay liquid.
- 1/4 cup (60 ml) whole milk: Whole milk gives the best texture here, though any milk works in a pinch.
- 1 tsp pure vanilla extract: Vanilla rounds out the chocolate and makes everything smell like a bakery.
- 1/2 cup (90 g) semi-sweet chocolate chips: Folded in at the end, they create pockets of molten chocolate that ooze when you bite in.
Instructions
- Fire up the iron:
- Preheat your waffle iron according to the manufacturer instructions and lightly grease it if yours tends to stick, so you get a clean release every time.
- Build the dry foundation:
- In a large bowl, whisk together the flour, cocoa powder, sugar, baking powder, and salt until evenly combined and no cocoa lumps remain.
- Whisk the wet team:
- In a separate bowl, whisk the eggs, melted butter, milk, and vanilla until smooth and glossy, about 30 seconds of vigorous whisking.
- Bring it all together:
- Pour the wet ingredients into the dry and stir gently until just combined, then fold in the chocolate chips and stop the moment everything is incorporated.
- Cook to fudgy perfection:
- Spoon about 1/2 cup of the thick batter onto your preheated iron, close the lid, and cook for 4 to 5 minutes until the edges are crisp and the centers feel set but still soft.
- Serve them hot:
- Carefully remove each waffle with a spatula or fork and serve warm, either plain or dressed up with ice cream, whipped cream, or fresh berries.
 Save
Save The night I realized these reheat beautifully in a toaster was the night they went from weekend treat to anyday staple in my house. Now I make a double batch and freeze them for mornings when only something chocolate will do.
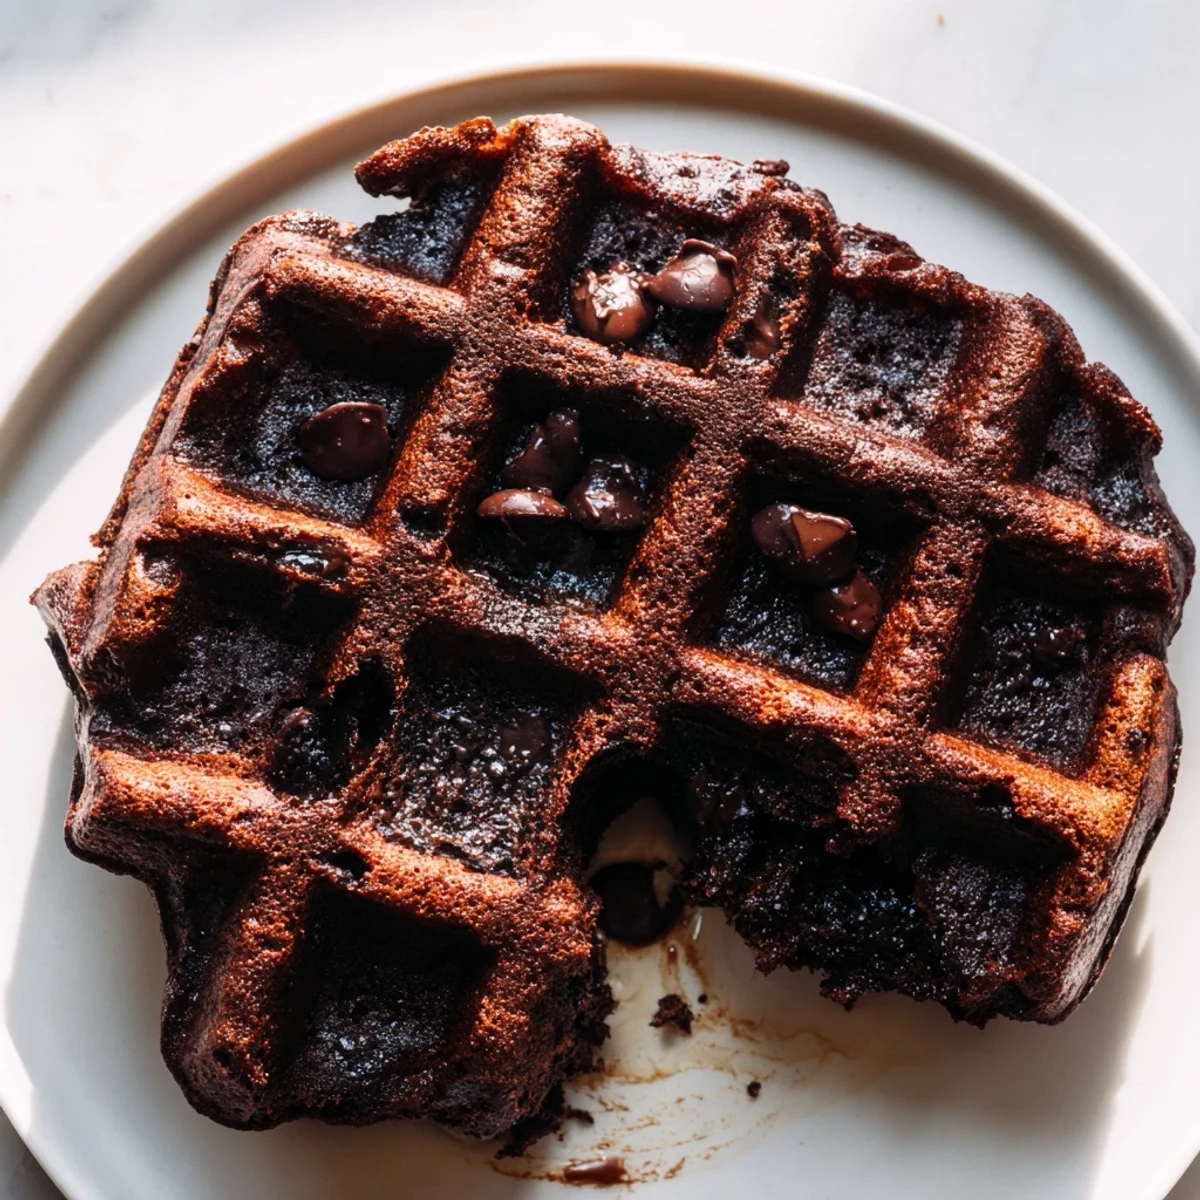
Getting the Right Texture
The magic is in the ratio of fat to flour, which is much closer to a brownie than a standard waffle. Your batter will look thick and almost scoopable rather than pourable, and that is exactly right. If it seems too stiff, a tablespoon of milk will loosen it, but go slow because too thin means losing that chewy center.
Waffle Iron Wisdom
A Belgian waffle maker gives you deeper pockets that hold more ice cream and syrup, but a standard iron works beautifully too with slightly shorter cook times. I learned the hard way that skipping the grease on the first waffle usually means it sticks, so give your iron a quick brush of oil or spray before the first batch even if it claims to be nonstick.
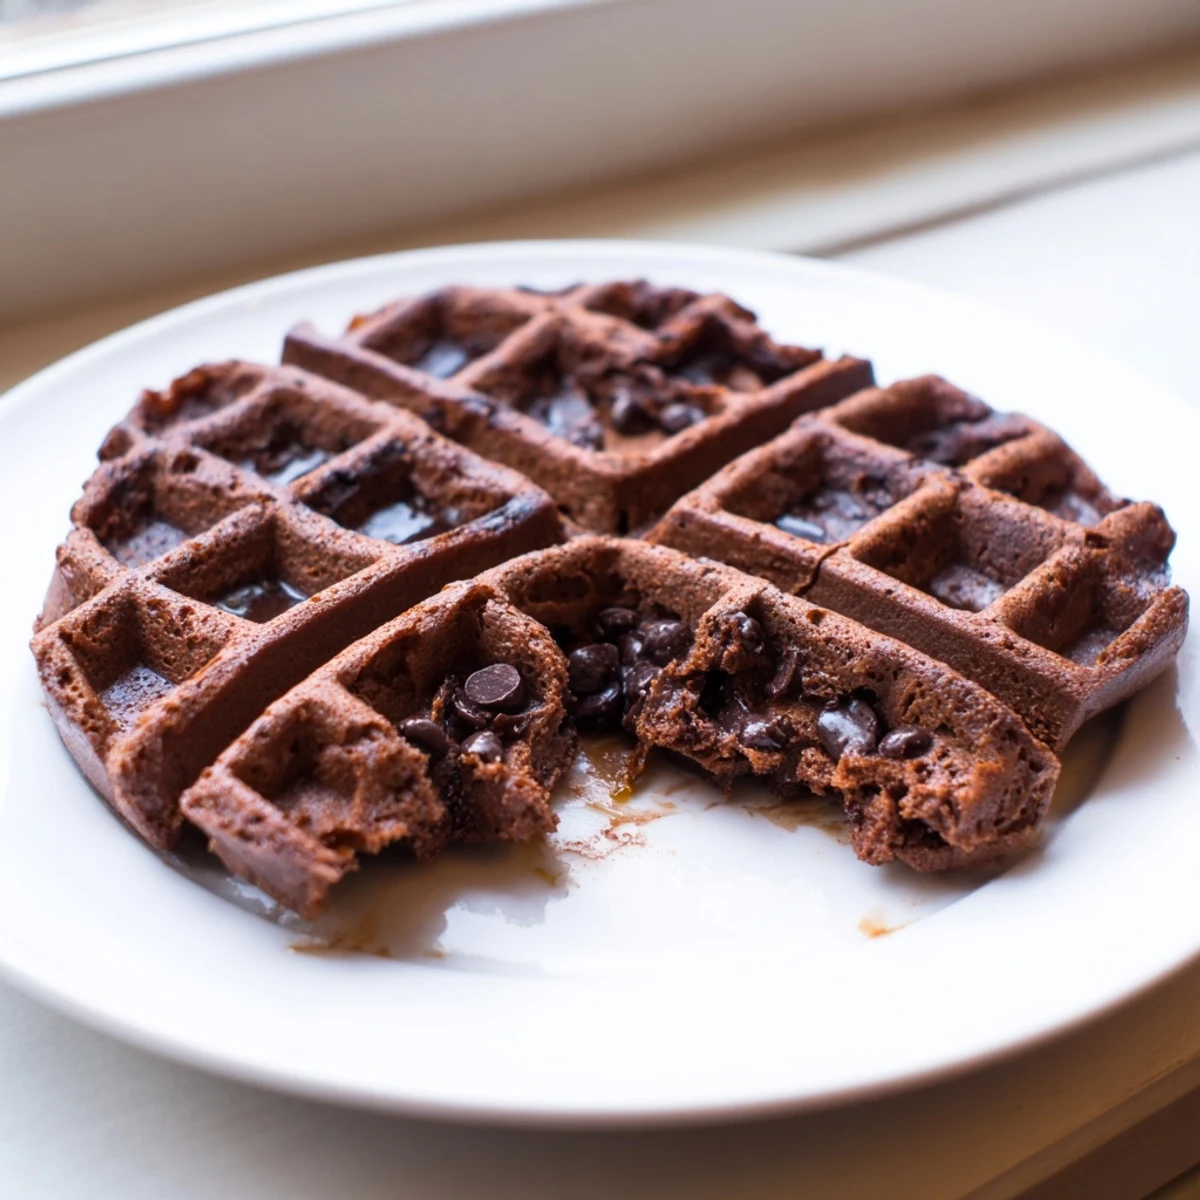
Serving and Storing
These are best eaten within an hour of making them, but they store well and reheat like a dream. A quick toast brings back the crisp edges while keeping the centers soft and gooey.
- Freeze cooled waffles in a single layer on a baking sheet, then transfer to a bag for up to three months.
- Reheat straight from frozen in a toaster or oven at 350 degrees for about five minutes.
- A dusting of powdered sugar right before serving makes everything look intentional and fancy.
 Save
Save Some recipes become favorites because they are impressive, but these win because they are effortless joy on a plate. Make them once and you will understand why my waffle iron finally earned its counter space.
Recipe Q&A
- → Can I make the batter ahead of time?
-
Yes, you can prepare the batter up to 24 hours in advance and store it covered in the refrigerator. Let it sit at room temperature for about 15 minutes before cooking, as cold batter may affect the texture and cooking time.
- → What type of waffle iron works best?
-
A standard Belgian waffle iron or a regular waffle maker both work well. The key is to lightly grease the plates and cook until the edges are crisp and the centers feel set but still soft. Thicker batters like this one perform beautifully in either style.
- → How do I store leftover brownie waffles?
-
Store cooled waffles in an airtight container at room temperature for up to 2 days or refrigerate for up to 5 days. To reheat, pop them back in the waffle iron for a minute or two, or use a toaster to restore crispness.
- → Can I freeze these waffles?
-
Absolutely. Let them cool completely, then place in a single layer on a baking sheet to freeze before transferring to a freezer-safe bag. They'll keep for up to 3 months. Reheat directly from frozen in a toaster or waffle iron.
- → Why is my batter so thick?
-
This is completely normal. Brownie waffle batter is much thicker than traditional waffle batter—it should resemble thick brownie dough. Spoon it onto the iron rather than pouring, and spread it slightly toward the edges before closing the lid.
- → Can I make these dairy-free?
-
Yes, substitute the melted butter with coconut oil or a plant-based butter alternative, and use any dairy-free milk such as almond or oat milk. Make sure your chocolate chips are also dairy-free. The texture will remain rich and fudgy.