 Save
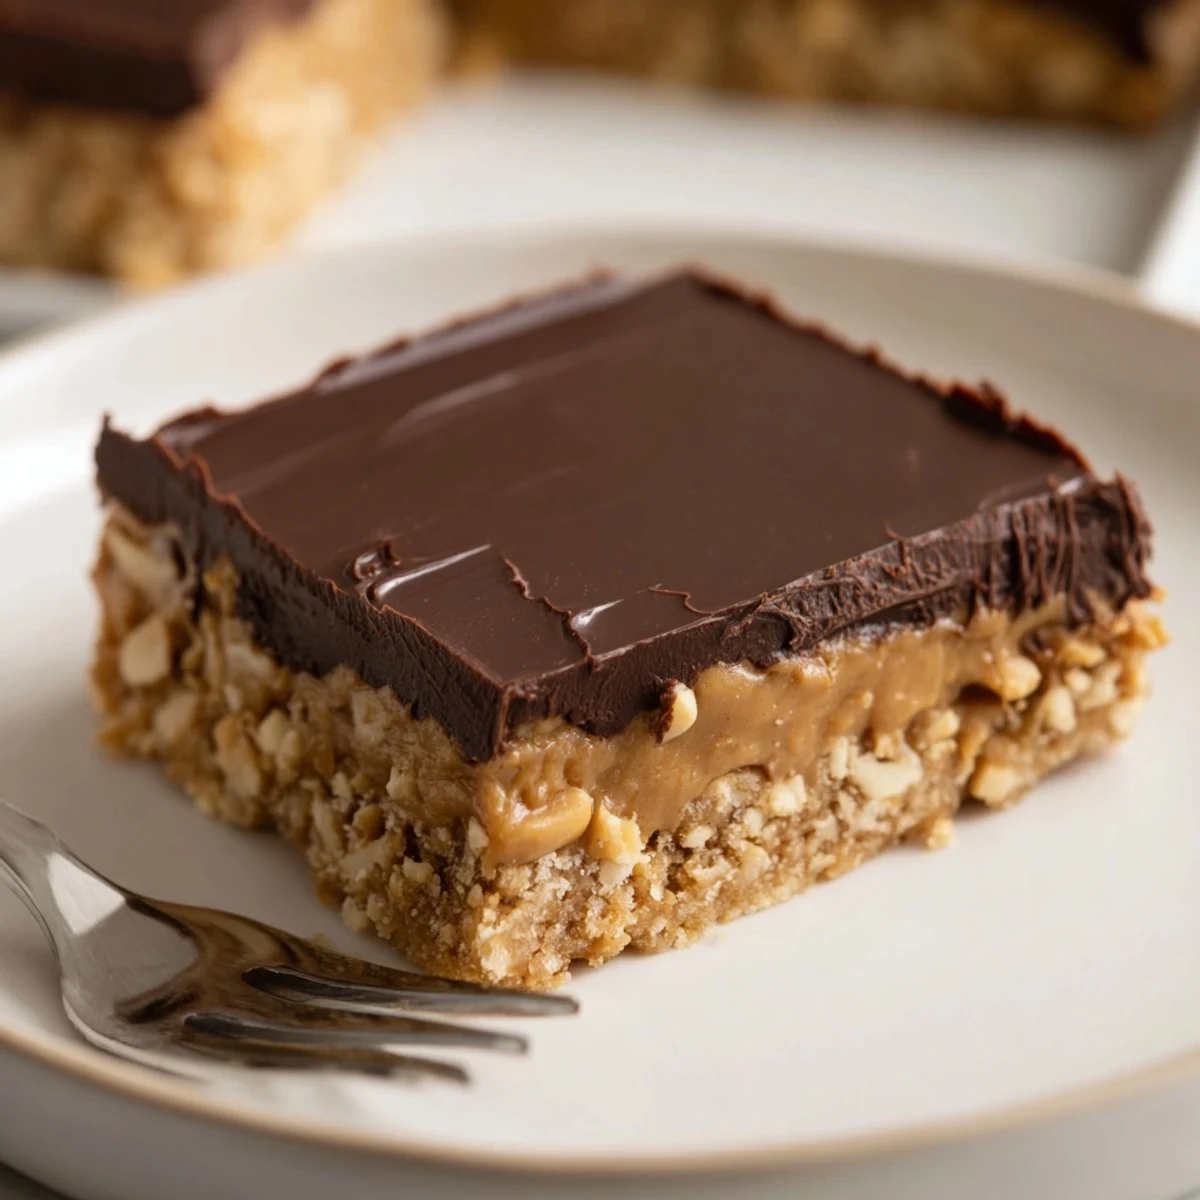
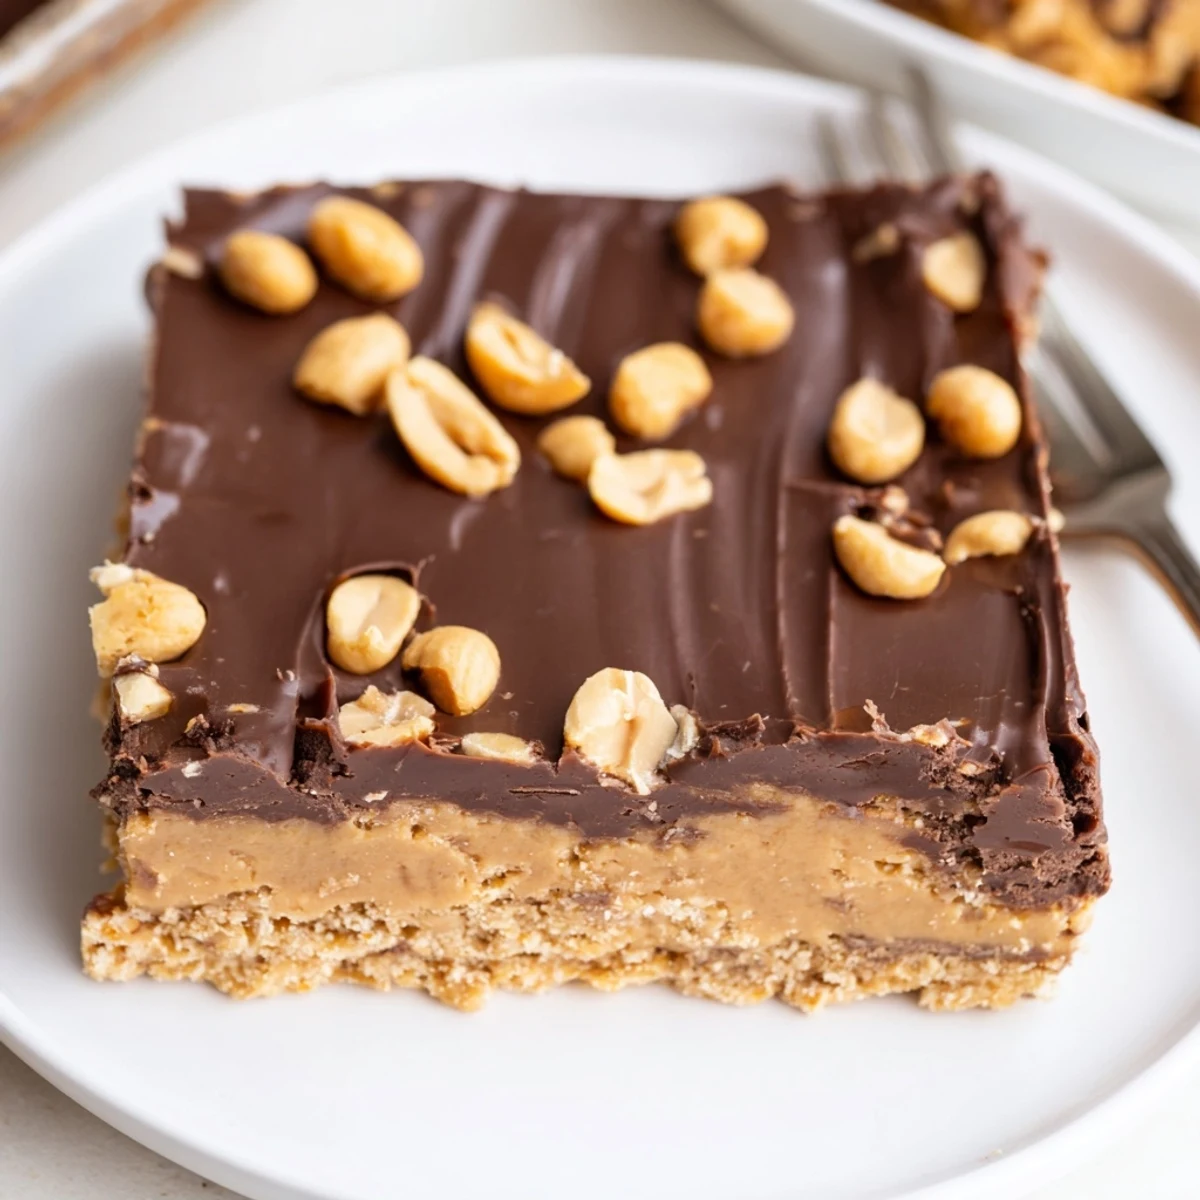
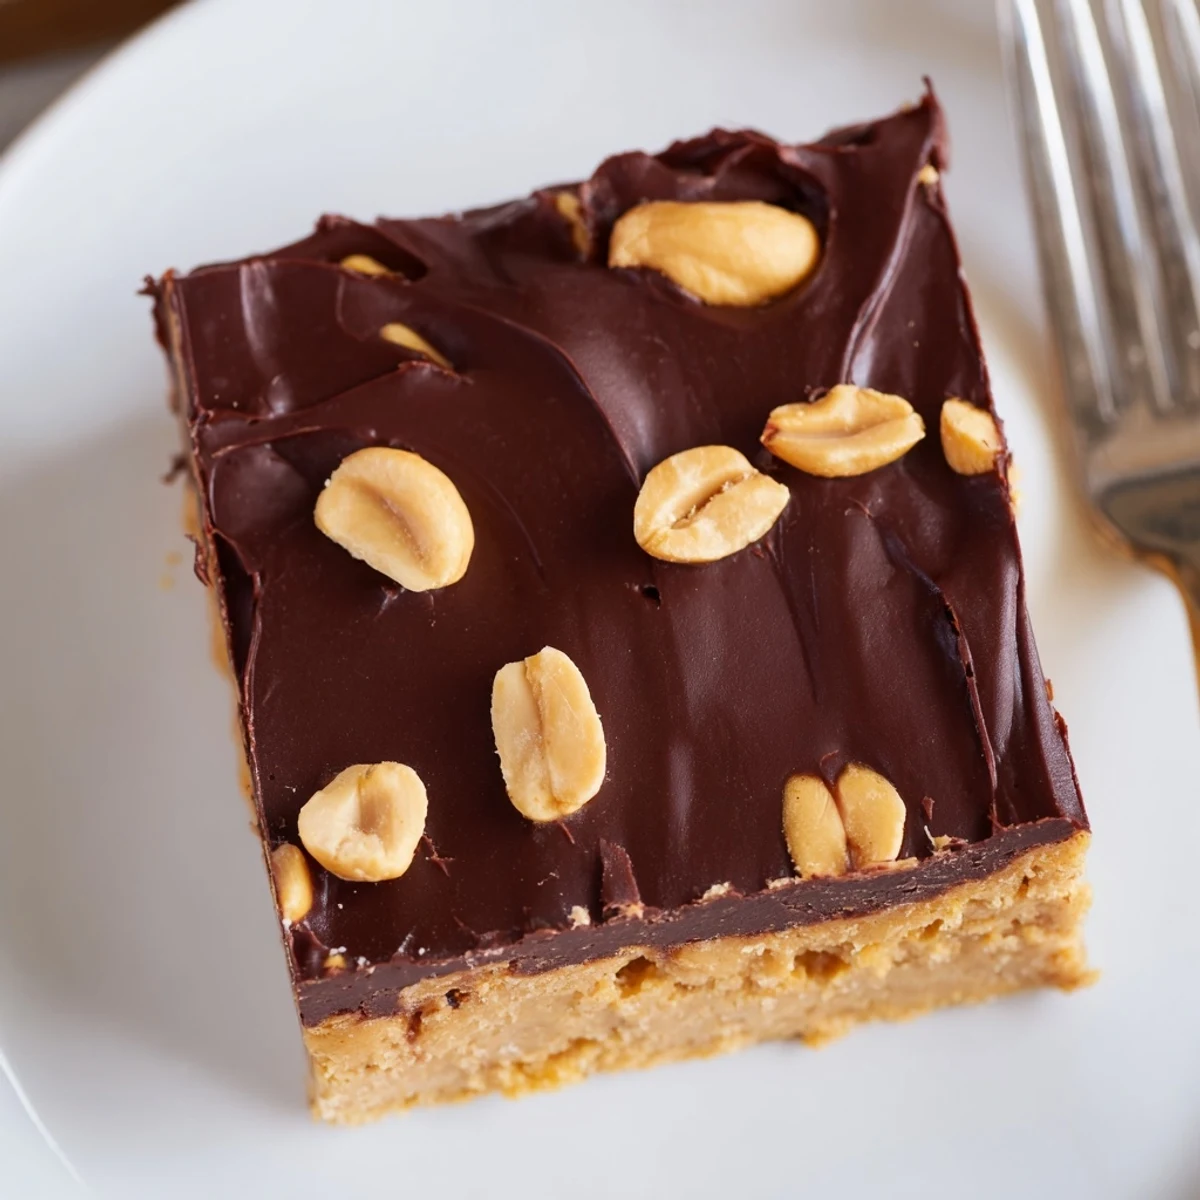
Save These chewy no-bake peanut butter bars feature a buttery graham cracker base combined with creamy peanut butter, finished with a glossy chocolate-peanut topping. Mix peanut butter, melted butter, graham crumbs and powdered sugar, press into a lined pan, melt chocolate with peanut butter and spread on top. Chill at least 2 hours, then slice into 16 bars. Optional: fold in chopped roasted peanuts for crunch.
The oven stayed cold and the kitchen still smelled incredible, that thick roasted peanut aroma curling through the house like it owned the place. These peanut butter bars require zero baking, which means they are dangerous in the best possible way. I made them on a Tuesday afternoon purely because the jar was almost empty and it felt wasteful not to use the last stubborn spoonfuls. Two hours later, half the pan had vanished.
My neighbor stopped by while I was pressing the base into the pan and ended up leaning against the counter eating warm chocolate topping straight from the bowl with a spoon. We agreed it was basically self care.
Ingredients
- Creamy peanut butter (1 cup): Use the regular kind, not natural or stir, because the stabilized texture holds the bars together without separating.
- Unsalted butter, melted (1/2 cup): Melting it first ensures the base comes together smoothly without any cold pockets.
- Graham cracker crumbs (2 cups): Crushing them finely gives the bars a tender chew, while leaving some bigger pieces adds a nice rustic crunch.
- Powdered sugar (2 cups): This dissolves into the base for sweetness and structure, so do not swap it for granulated.
- Semi sweet chocolate chips (1 1/2 cups): These melt down into a glossy topping that balances the sweetness with a little bitterness.
- Creamy peanut butter for topping (1/4 cup): Stirred into the melted chocolate, it softens the topping so it does not seize and adds a fudgy richness.
Instructions
- Line the dish:
- Tear a sheet of parchment paper large enough to overhang the sides of your 9x13 inch baking dish, pressing it into the corners so it cooperates.
- Mix the base:
- Stir the peanut butter and melted butter together in a large bowl until completely smooth and glossy, scraping the sides to catch every streak.
- Add the dry ingredients:
- Pour in the graham cracker crumbs and powdered sugar, then stir until the mixture looks uniform and feels like thick, moldable dough.
- Press it in:
- Transfer the dough to your lined dish and press it firmly and evenly using a spatula or your palms so there are no loose spots.
- Melt the topping:
- Combine the chocolate chips and peanut butter in a microwave safe bowl and heat in 30 second bursts, stirring gently between each until the mixture is silky and pourable.
- Spread and chill:
- Pour the chocolate mixture over the base and spread it edge to edge with a spatula, then refrigerate for at least 2 hours until completely set.
- Cut and serve:
- Lift the whole slab out using the parchment overhang, set it on a cutting board, and slice into 16 bars with a sharp knife.
 Save
Save I packed a tin of these for a road trip once and they survived three hours in a warm car, still holding their shape and tasting like a reward at the end of the drive.
Variations Worth Trying
Fold half a cup of chopped roasted peanuts into the base if you want a crunch that surprises you with every bite. You can also swap graham crackers for digestive biscuits, which make the bars slightly more crumbly but give them a deeper, toasted flavor.
Storing Your Bars
Keep them in the fridge in an airtight container and they stay perfect for up to a week, though in my experience they never last that long. You can also freeze them layered between sheets of parchment for up to three months and thaw a few at a time when the craving hits.
Allergens and Tools at a Glance
These bars contain peanuts, dairy, wheat, and possibly soy depending on your chocolate chips, so always check labels if you are serving a crowd. The tool list is mercifully short, just bowls, a spatula, parchment, and a microwave safe container.
- A metal spatula gives the cleanest cut when slicing chilled bars.
- Room temperature peanut butter mixes more easily than cold from the fridge.
- Let the bars sit out for five minutes before cutting so the chocolate topping does not crack unpredictably.
 Save
Save Some recipes earn a permanent spot in your rotation because they ask so little and give so much back. These bars are exactly that kind of recipe.
Recipe Q&A
- → How do I make the bars firmer?
-
Press the base mixture very firmly into the pan to eliminate air pockets, then chill for at least 2 hours (or briefly freeze) to set. Increasing graham crumbs or powdered sugar slightly will also firm the texture.
- → Can I use crunchy peanut butter instead of creamy?
-
Yes. Crunchy peanut butter adds texture and a nutty bite. If you prefer a uniform base, use creamy for mixing and fold in chopped peanuts or crunchy peanut butter at the end.
- → What's the best way to melt the chocolate topping?
-
Melt chocolate chips and peanut butter in 30-second microwave bursts, stirring between each until smooth. Alternatively, use a double boiler over gently simmering water to avoid scorching.
- → What can I substitute for graham crackers?
-
Digestive biscuits, crushed shortbread, or vanilla wafers work well. Substitutes will alter sweetness and texture, so taste and adjust powdered sugar if needed.
- → How should I store and freeze the bars?
-
Store in an airtight container in the fridge for up to one week. For longer storage, freeze wrapped pieces for up to three months; thaw in the fridge before serving.
- → Is there a nut-free alternative?
-
Use sunflower seed butter or soy nut butter in place of peanut butter. The method and texture remain similar, but check labels for cross-contamination and adjust sweetness to taste.