 Save
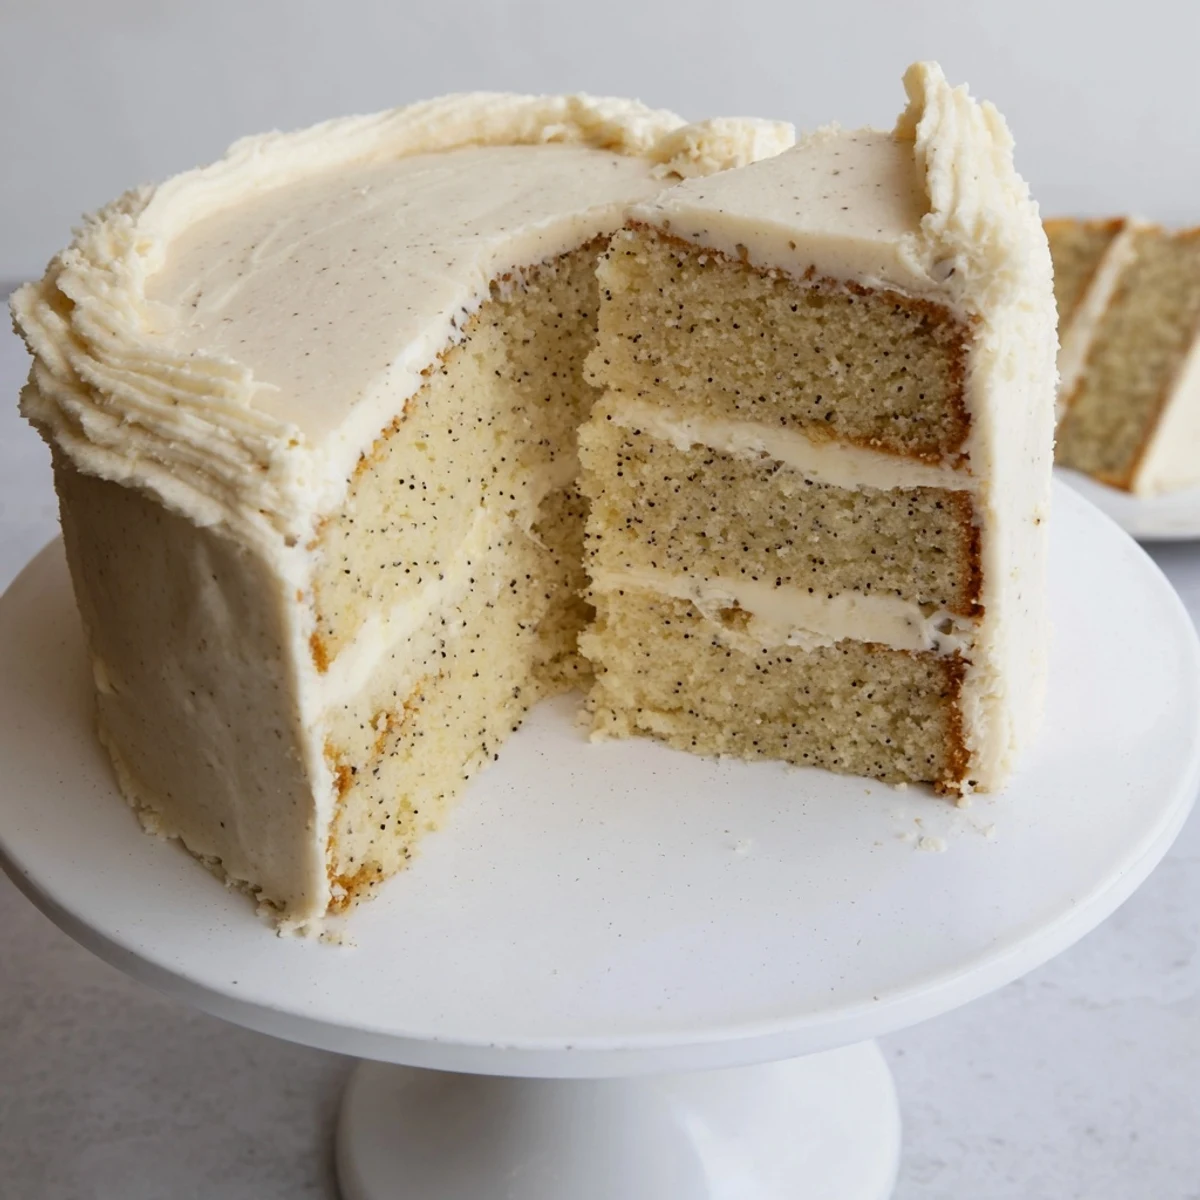
Save This classic vanilla bean cake features tender layers infused with real vanilla bean paste, stacked and covered with silky buttercream frosting. The result is a beautifully moist, aromatic dessert that balances sweetness with vanilla's floral notes.
Preparation takes just 30 minutes before baking, with layers emerging golden and fragrant. The homemade buttercream whips up light and creamy, perfect for spreading between layers and coating the entire cake.
Ideal for birthdays and special occasions, this American-style dessert yields 12 generous servings and can be customized with sprinkles or edible flowers for a festive touch.
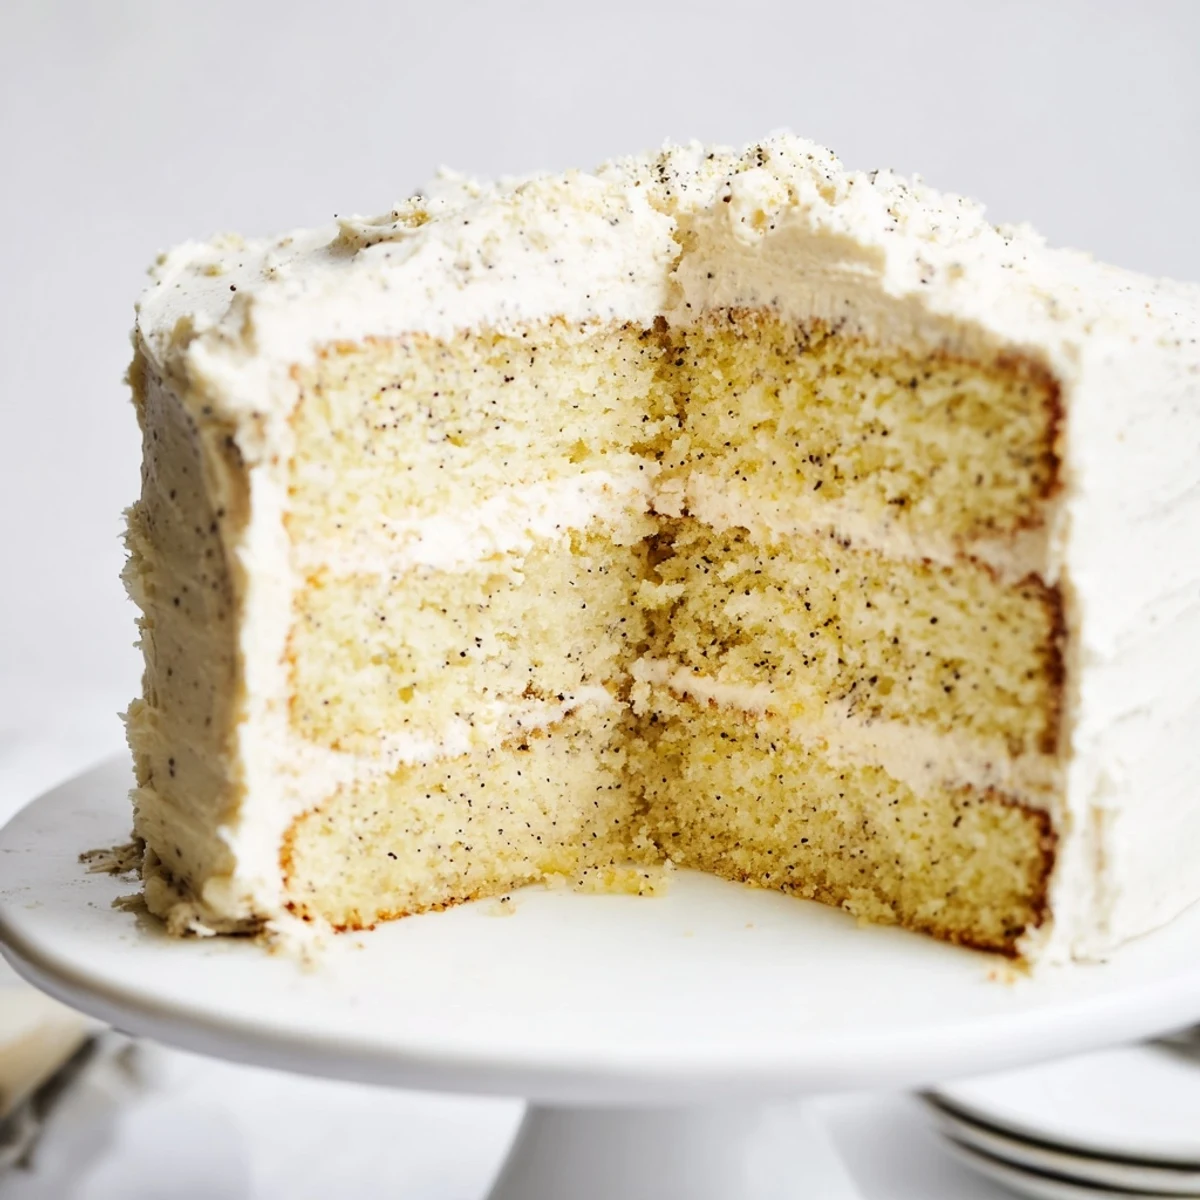
There is something almost meditative about scraping those tiny black specks from a vanilla bean, watching them scatter through buttercream like edible stars. I made this cake for my sisters birthday last spring, and the way the kitchen smelled while those layers baked has become my definition of comfort. This is the sort of cake that makes people pause before cutting into it, because it looks like something from a bakery window but tastes like home.
I remember cutting into this cake at that birthday party and seeing how the sunlight caught those vanilla flecks in the crumb. My niece asked if I could make it for her birthday too, which is probably the highest compliment a recipe can receive. Now it is become my go-to for celebrations because somehow cake tastes better when it feels like you put your whole heart into it.
Ingredients
- All-purpose flour: Creates structure while keeping the crumb tender and cake-like
- Baking powder: Gives the lift that makes each layer tall and airy
- Unsalted butter: Room temperature butter is non-negotiable for proper creaming
- Granulated sugar: Creaming this with butter creates the tiny air pockets that make the cake light
- Large eggs: Must be room temperature or they will seize up the batter
- Vanilla bean paste: Those little black specks are where all the magic lives
- Whole milk: Keeps the cake moist without making it dense or heavy
- Powdered sugar: Sifting prevents lumps in your buttercream
- Versatile decoration: Sprinkles or edible flowers make it feel like a celebration
Instructions
- Preheat your oven to 350F (175C) and prepare your cake pans:
- Grease two 9-inch round pans thoroughly and line bottoms with parchment paper for easy release later.
- Whisk together your dry ingredients:
- Combine flour, baking powder, and salt in a medium bowl so they are evenly distributed.
- Cream the butter and sugar:
- Beat on medium-high speed for 3 to 4 minutes until the mixture is pale and fluffy.
- Add the eggs one at a time:
- Beat well after each egg, then mix in the vanilla bean paste until those tiny specks are everywhere.
- Combine wet and dry ingredients:
- Add flour mixture in three parts, alternating with milk, mixing just until combined.
- Bake until perfectly done:
- Divide batter between pans, smooth tops, and bake for 30 to 35 minutes until a toothpick comes out clean.
- Cool completely before frosting:
- Let cakes rest in pans for 10 minutes, then turn onto wire racks to cool fully.
- Make the buttercream:
- Beat butter until creamy, gradually add powdered sugar, then milk, vanilla, and salt until fluffy.
- Assemble and frost the cake:
- Spread buttercream between layers, over top, and around sides until covered.
- Add your finishing touches:
- Decorate with sprinkles or edible flowers to make it feel festive and complete.
 Save
Save This cake has become such a part of my celebration routine that I cannot imagine birthdays without it now. Last month I made it for a dinner party and someone actually asked for the recipe before they even finished their slice, which is the kind of moment that makes you feel like maybe you are getting the hang of this baking thing after all.
Making It Ahead
I have learned that the cake layers freeze beautifully wrapped tightly in plastic and foil. Thaw them overnight in the refrigerator before frosting, which actually gives you time to focus on making the buttercream perfect the day you serve it.
Getting The Frosting Just Right
If your buttercream feels too stiff, add milk one teaspoon at a time until it reaches spreadable consistency. Conversely, if it is too soft, refrigerate for 15 minutes before continuing to frost the cake.
Serving Suggestions
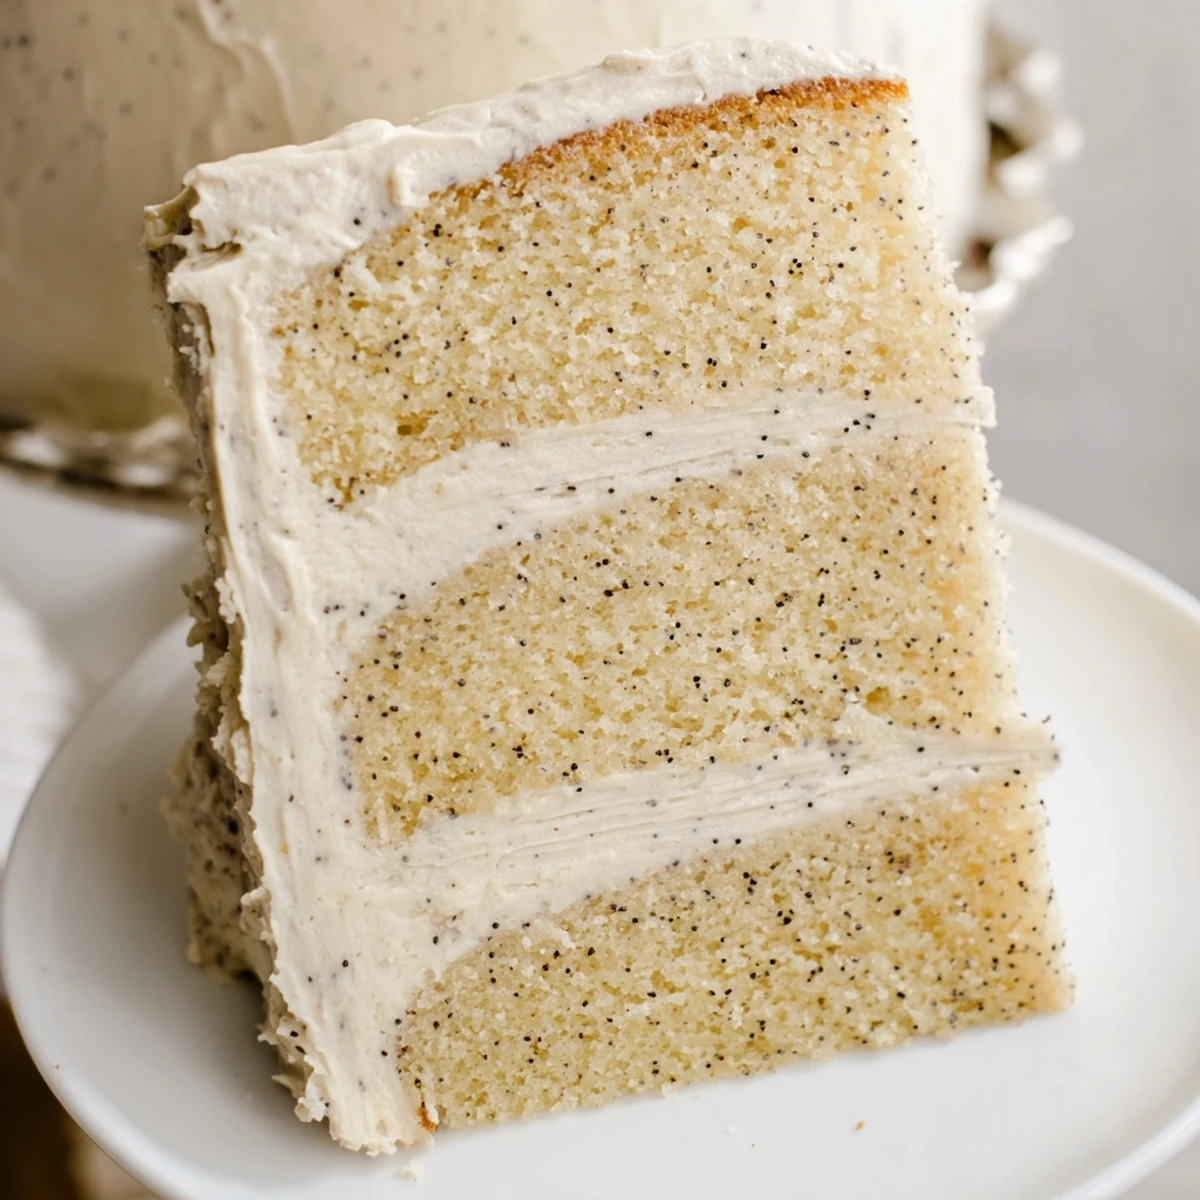
This cake deserves to be the star of the show, served on a pretty cake stand with matching plates. The vanilla flavor pairs beautifully with fresh berries if you want something light alongside each slice.
- Brush each layer with simple syrup for extra moisture if making ahead
- Use cake flour for an even more delicate crumb texture
- Let the frosted cake set for 30 minutes before slicing for clean cuts
 Save
Save There is nothing quite like watching someones face light up when they see this cake on the table. That first bite of tender vanilla cake with creamy buttercream is exactly what celebrations should taste like.
Recipe Q&A
- → Can I make the layers ahead of time?
-
Yes, bake and cool the layers completely, wrap tightly in plastic, and freeze for up to 3 months. Thaw overnight before frosting.
- → What's the difference between vanilla bean paste and extract?
-
Vanilla bean paste contains actual vanilla seeds, providing intense flavor and visible specks. Extract offers pure flavor without the visual appeal.
- → How do I know when the cake is done baking?
-
Insert a toothpick into the center. If it comes out clean or with just a few moist crumbs, the layers are finished baking.
- → Can I use cake flour instead of all-purpose?
-
Absolutely. Swap the all-purpose flour for cake flour cup-for-cup to achieve an even lighter, more delicate crumb structure.
- → Why is my buttercream curdling?
-
This usually happens if ingredients are too cold. Ensure butter is softened and milk is at room temperature. Keep beating—it will smooth out.
- → Should I refrigerate the finished cake?
-
Due to the buttercream, it's best to refrigerate if serving beyond one day. Bring to room temperature 30 minutes before serving for optimal texture.