 Save
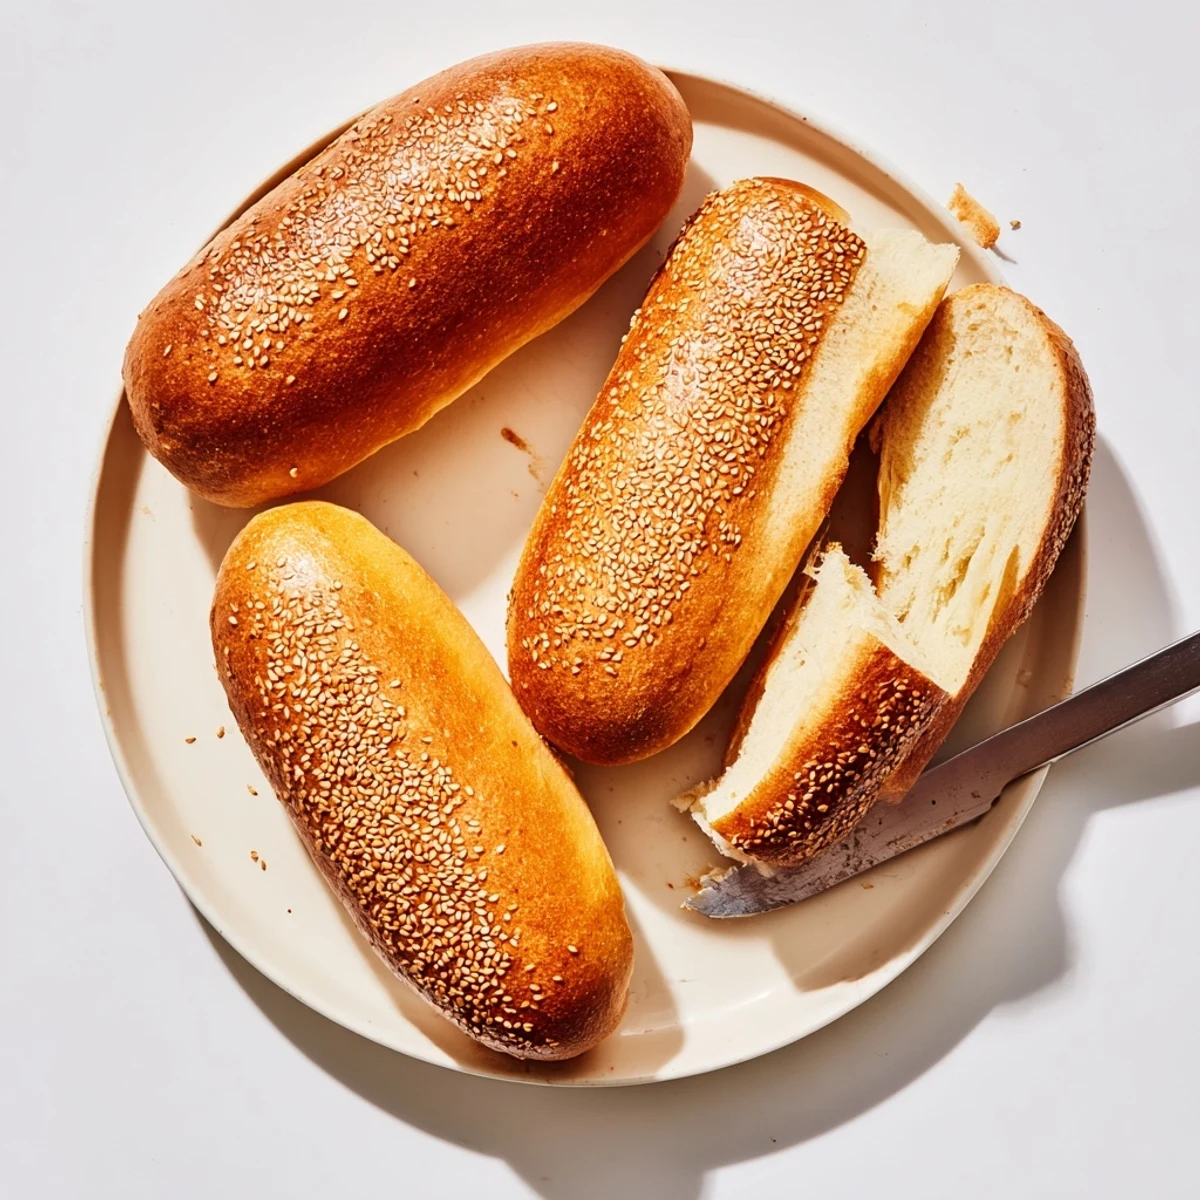
Save These homemade hot dog buns repurpose your sourdough starter discard into incredibly soft, golden buns with a pleasant tangy undertone. The dough combines unfed sourdough with warm milk, butter, and eggs, creating a tender texture that holds up perfectly to grilled favorites.
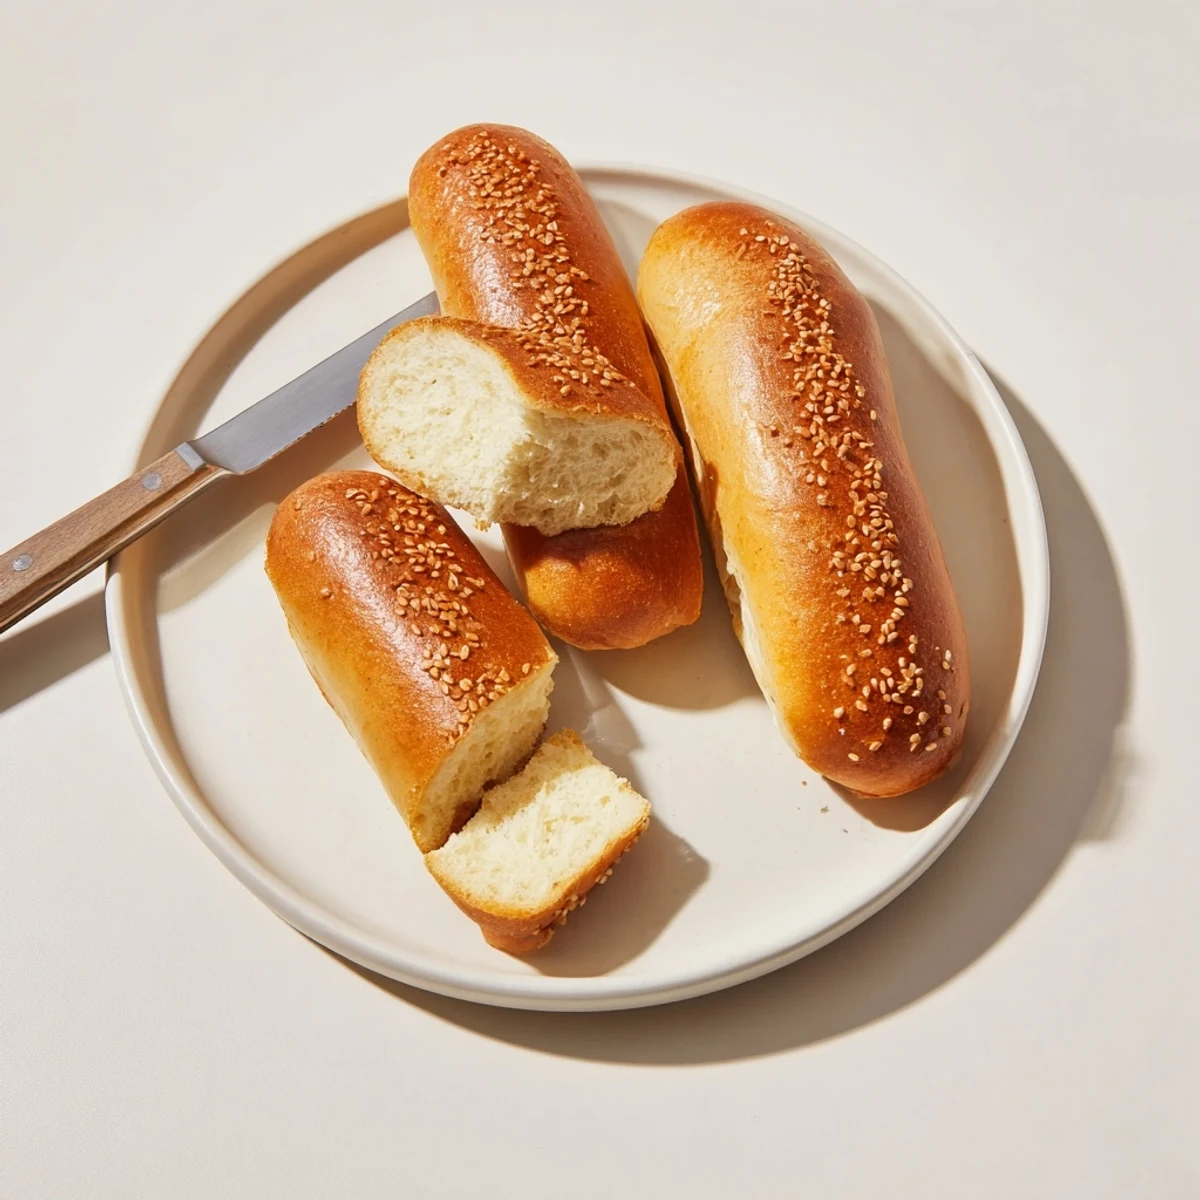
After mixing and kneading, the dough rises until doubled, then shapes into eight classic 6-inch logs. A final proof makes them pillowy before baking to golden perfection. Brush with butter post-bake for an extra soft, irresistible finish.
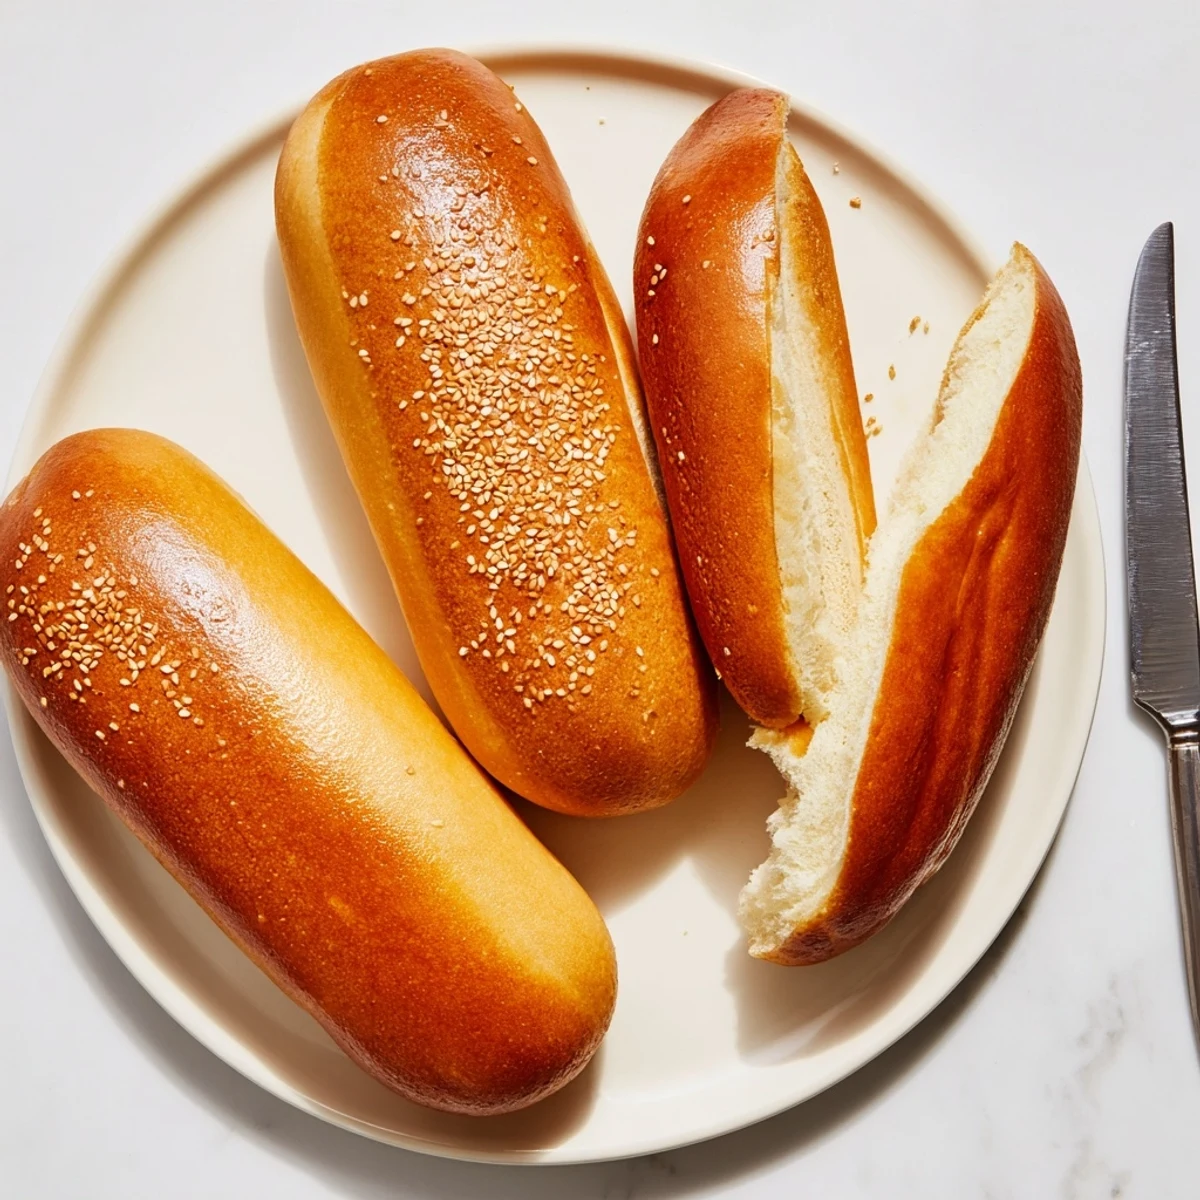
The sourdough discard adds depth without the long fermentation process, making these accessible for bakers of all skill levels. Customize with sesame, poppy seeds, or everything bagel seasoning for a restaurant-quality touch.
The first time I made these, my neighbor actually leaned over the fence and asked what bakery I'd visited. That subtle sourdough tang transforms ordinary hot dog buns into something that makes even the simplest meal feel special.
Last summer, we hosted an impromptu backyard gathering and I panicked because I'd forgotten to buy buns. These sourdough beauties saved the day and everyone kept asking where I found them. Now they are a staple in my freezer.
Ingredients
- Sourdough discard: Use unfed starter at 100% hydration for that characteristic tang and reduced waste
- Warm milk: Activates the yeast and adds tenderness to the final crumb
- Melted butter: Creates a softer crust and richer flavor profile
- Sugar: Feeds the yeast and helps the buns achieve beautiful golden color
- Large egg: Adds structure and helps the dough hold its shape during rising
- Salt: Essential for flavor and controlling yeast activity
- All purpose flour: Start with 3 3/4 cups and add only as needed for proper consistency
- Instant yeast: Provides reliable rise without proofing steps
- Milk for brushing: Helps seeds adhere and creates an attractive sheen
- Melted butter for finishing: Keeps crust soft and adds irresistible aroma
Instructions
- Activate the yeast:
- Combine warm milk, sugar, and yeast in a large bowl, then wait for that beautiful foamy layer to form
- Mix the base:
- Add sourdough discard, melted butter, egg, and salt to the yeast mixture until incorporated
- Build the dough:
- Gradually incorporate flour until you have a soft, slightly tacky dough that feels alive under your fingers
- Knead to develop:
- Work the dough for 7 to 8 minutes until it becomes smooth and springs back when touched
- First rise:
- Place dough in a greased bowl, cover, and let it double in size over the next hour to 90 minutes
- Shape the buns:
- Divide into 8 equal pieces and roll each into a 6 inch smooth log
- Second rise:
- Arrange on parchment with space between them, then let them become puffy over 30 to 45 minutes
- Preheat and prep:
- Heat your oven to 375F while brushing the buns with milk and adding seeds if you like
- Bake to golden:
- Bake for 18 to 20 minutes until they sound hollow when tapped and have a beautiful brown color
- Finish with butter:
- Brush immediately with melted butter for that soft, pillowy crust
 Save
Save My daughter now requests these specifically for her birthday dinner every year. There is something about that first bite into a warm, fresh bun that makes even the simplest toppings taste gourmet.
Making Ahead
I often mix the dough the night before and let it do its first slow rise in the refrigerator. The cold fermentation actually improves flavor and makes shaping easier the next day.
Getting The Shape Right
Roll each piece under your palms with light, even pressure. If the dough springs back, let it rest for a few minutes and try again. Perfection is not the goal here.
Storing Your Buns
Cool completely before storing in a plastic bag for up to 3 days. For longer storage, wrap individually and freeze for up to 3 months.
- Reheat frozen buns in a 350F oven for 5 minutes
- Slice before freezing for even faster meals
- Revive day old buns with a quick toast
 Save
Save These buns turned a random Tuesday dinner into something my family still talks about. Sometimes the simplest upgrades make the biggest difference.
Recipe Q&A
- → Can I make these buns without sourdough discard?
-
Yes, substitute the sourdough discard with an equal amount of all-purpose flour and water mixture (approximately ½ cup flour and ¼ cup water) to maintain the dough consistency, though you'll lose the characteristic tangy flavor.
- → How should I store these buns?
-
Store completely cooled buns in an airtight bag at room temperature for up to 3 days. For longer storage, freeze individually wrapped buns for up to 3 months. Thaw at room temperature and refresh in a warm oven before serving.
- → Can I prepare the dough ahead of time?
-
Absolutely. After the first rise, punch down the dough and refrigerate overnight in a covered bowl. Let come to room temperature for 30 minutes before shaping and proceeding with the second rise.
- → What makes these buns softer than store-bought?
-
The combination of eggs, butter, and milk creates an enriched dough that stays tender longer. Brushing with melted butter immediately after baking locks in moisture, resulting in that bakery-soft texture.
- → Can I shape these into hamburger buns instead?
-
Certainly. Divide the dough into 6-8 pieces, flatten into rounds about 4 inches wide, and follow the same rising and baking instructions. The timing remains identical for perfectly soft burger buns.