 Save
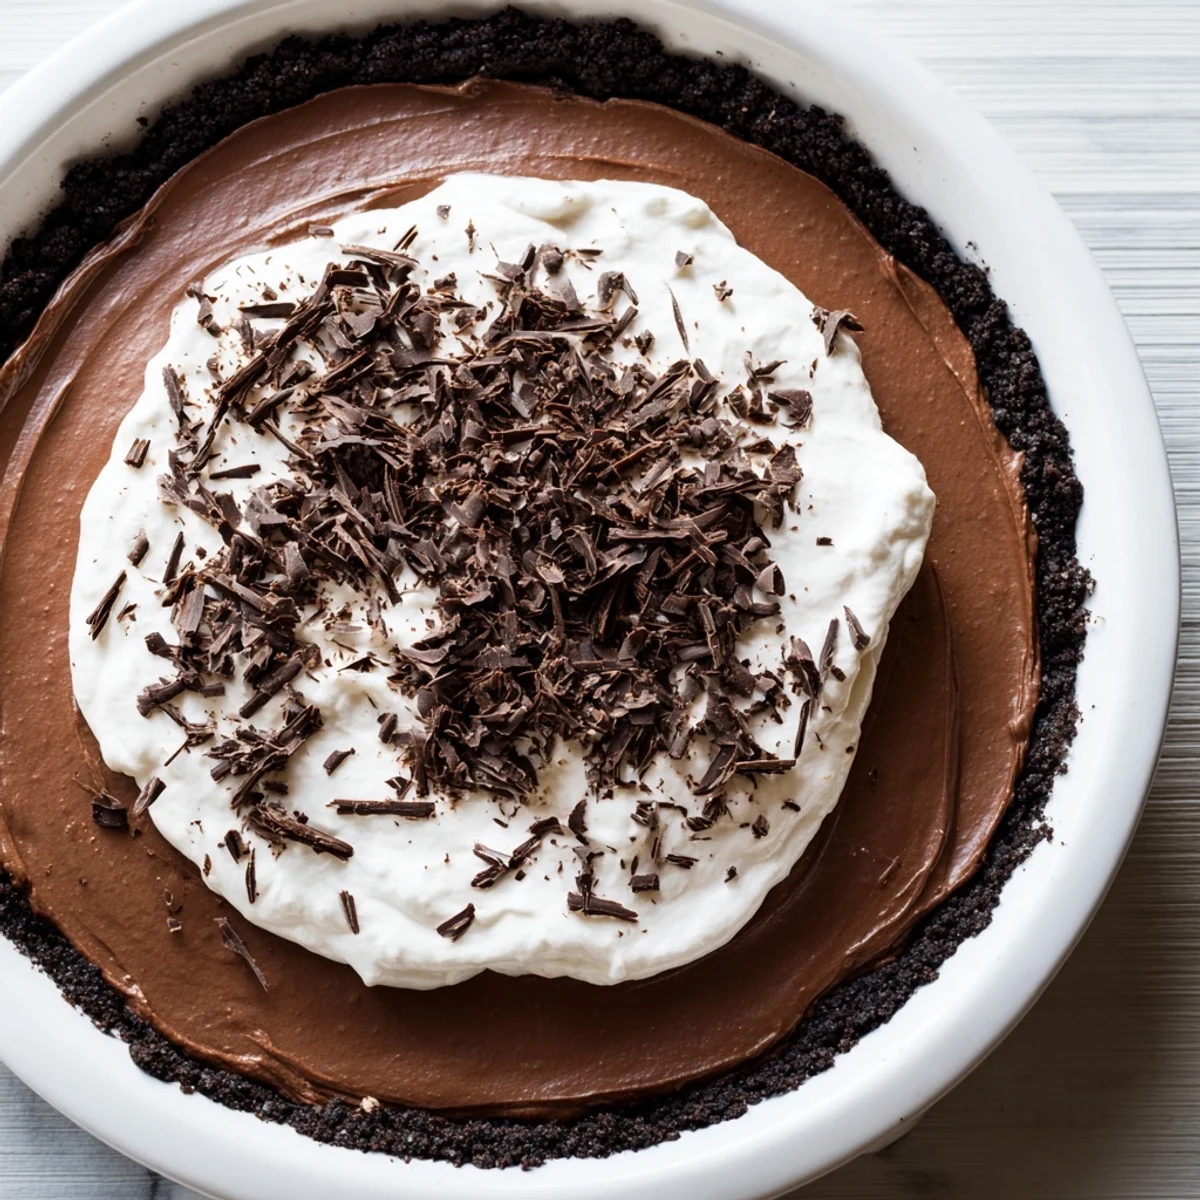
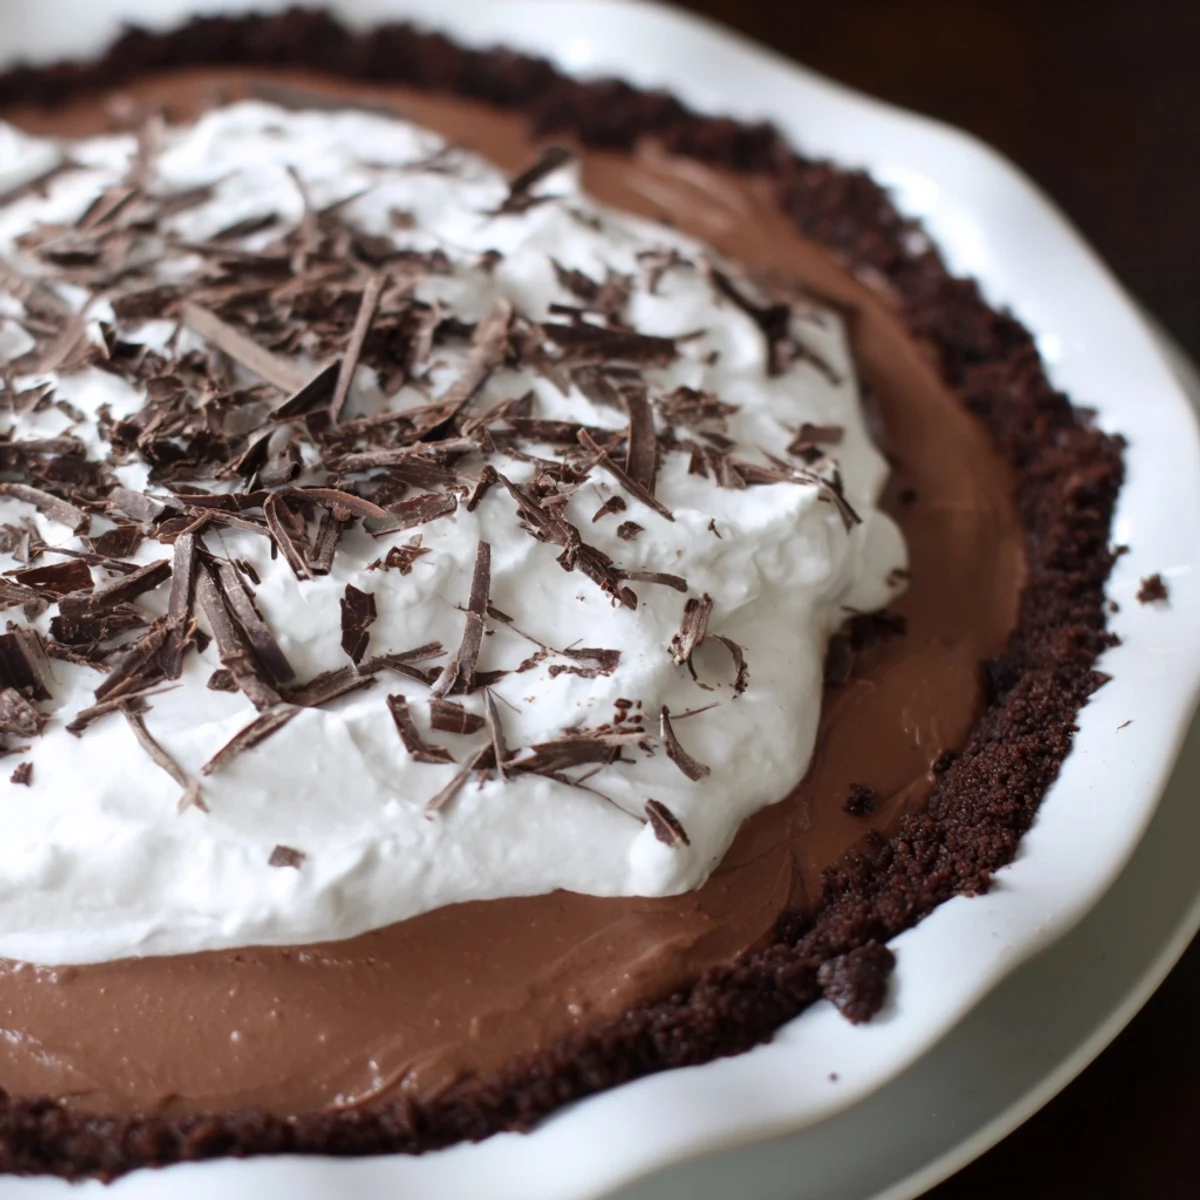
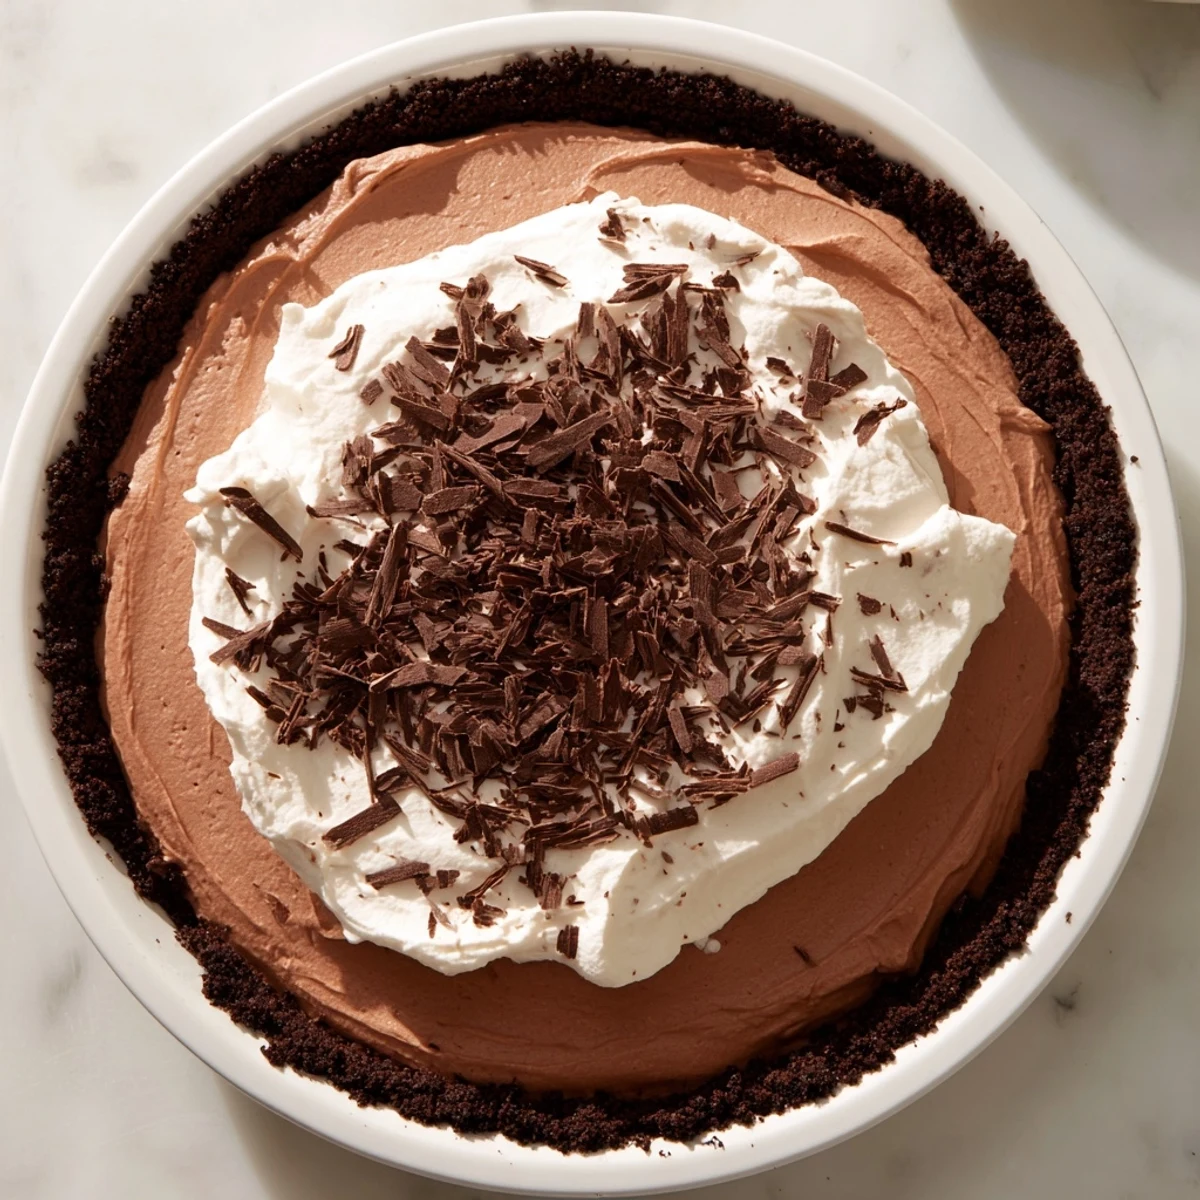
Save This luxurious chocolate silk pie combines a crisp chocolate cookie crust with a rich, velvety chocolate filling. The filling is whipped to perfection, silky and glossy, then chilled to set. Finished with softly whipped cream and optional chocolate shavings, it’s ideal for sharing on special occasions. The preparation involves baking the crust briefly, melting high-quality bittersweet chocolate, and combining eggs and butter into a smooth mixture. Chilling ensures a firm, luscious texture. Serve chilled for a truly indulgent treat.
The first time I attempted this silk pie, I was trying to impress someone who claimed they did not like chocolate desserts. Three hours into the chilling process, I nearly texted them to cancel, convinced I had somehow messed up the simplest filling imaginable. When they took that first bite and went completely silent for ten seconds, I knew I had found my forever recipe.
Last Valentine's Day, I made two of these pies side by side and learned the hard way that my kitchen timer somehow knows when I am rushing. The first one cracked in the refrigerator because I could not wait the full four hours. The second one, given proper time to set, was the reason my partner suggested we make this an annual tradition.
Ingredients
- Chocolate cookie crumbs: I use chocolate sandwich cookies with the cream filling removed, but any chocolate cookie works beautifully as the foundation
- Unsalted butter: Melt this completely so it coats every crumb evenly, creating that perfect pressed crust that holds together when sliced
- Granulated sugar: Just enough to balance the bitterness of dark chocolate in the crust without making it overly sweet
- Bittersweet chocolate: The quality really shows here, so choose something you would happily eat straight from the bar
- Room temperature butter: This needs to be genuinely soft, not just slightly warmed, or you will end up with tiny butter flecks in your filling
- Powdered sugar: Sift this first because one tiny lump can ruin the silky texture we are chasing
- Vanilla extract: Pure vanilla makes the chocolate taste more chocolatey, if that makes any sense
- Pasteurized eggs: Non negotiable here since the filling is not baked, so please do not try to substitute with regular eggs
- Heavy whipping cream: The colder this is when you start whipping, the faster it will reach those soft peaks we want
Instructions
- Press the crust into being:
- Mix those chocolate crumbs with melted butter and sugar until it feels like wet sand, then press firmly into your pie dish using the bottom of a measuring cup to create an even layer that will bake up beautifully
- Bake until fragrant:
- Eight to ten minutes at 175°C is all it takes for the crust to set and release this incredible toasted chocolate smell that will have everyone wandering into the kitchen
- Melt with patience:
- Chocolate burns so easily that I do this in the microwave in thirty second bursts, stirring between each until it is smooth and glossy, then let it cool until it feels barely warm to the touch
- Create the base:
- Beat that softened butter with powdered sugar until it is pale and practically weightless, which usually takes about two minutes of serious mixing with an electric mixer
- Combine and smooth:
- Pour in your melted chocolate and vanilla, then keep beating until the whole mixture looks uniform and glossy, with no streaks or pockets of unmixed ingredients
- Add eggs one at a time:
- This is where patience pays off, because each egg needs three to four full minutes of beating to incorporate enough air for that characteristic silk pie texture
- Spread and wait:
- Smooth the filling into your cooled crust, cover it, and try to find something else to think about for at least four hours while it sets up in the refrigerator
- Whip the cream:
- Right before serving, beat cold heavy cream with powdered sugar and vanilla until it holds soft peaks that look like clouds but still collapse gently when you drop a spoonful on top
- Finish and serve:
- Pile or pipe that cream over your perfectly set pie, add chocolate shavings if you are feeling fancy, and slice it while it is still cold for clean wedges that hold their shape on the plate
 Save
Save My grandmother would serve this after Sunday dinner, and I remember watching my grandfather take three bites before finally looking up and declaring it better than the restaurant version he had in Chicago once. That quiet approval meant everything to me, especially since he usually saved his praise for savory dishes.
Making It Your Own
Sometimes I swap the crust for crushed graham crackers when I want something lighter, or add a tablespoon of espresso powder to the melted chocolate for that mocha twist that coffee lovers go crazy for. You could also fold crushed raspberries into the whipped cream topping for a pretty pink layer on top.
Serving Suggestions
This pie is rich enough that thin slices satisfy everyone, and I like to serve it with fresh berries or a drizzle of raspberry sauce to cut through all that intense chocolate. A cup of strong black coffee on the side makes the whole experience feel like a European café moment.
Storage and Timing
The pie actually gets better after a day in the refrigerator, so do not hesitate to make it the night before you plan to serve it. You can store it covered for up to three days, though I have never had one last longer than twenty four hours in my house.
- If you are transporting this pie, chill it completely then wrap the whole dish tightly with plastic wrap
- The whipped cream weeps after sitting too long, so add it right before serving for the prettiest presentation
- Leftovers should be kept chilled and are honestly pretty fantastic for breakfast with a strong cup of coffee
 Save
Save This is the dessert that turns ordinary Tuesday dinners into something worth celebrating, and the recipe I turn to whenever I need to remind someone that they are worth the effort of making something truly special.
Recipe Q&A
- → How long should I chill the chocolate silk filling?
-
Chill the filling for at least 4 hours in the refrigerator to allow it to set firmly and develop its silky texture.
- → Can I substitute the chocolate cookie crust?
-
Yes, a ready-made chocolate crust or gluten-free cookie crust can be used as a convenient alternative while maintaining flavor.
- → Why use pasteurized eggs in the filling?
-
Pasteurized eggs ensure safety since the filling is not baked and remains raw, reducing any risk of contamination.
- → What type of chocolate works best for the filling?
-
Bittersweet or semisweet chocolate provides the ideal balance of rich cocoa flavor and sweetness for a smooth filling.
- → How do I achieve the perfect whipped cream topping?
-
Whip cold heavy cream with powdered sugar and vanilla extract until soft peaks form, ensuring a light and fluffy topping.
- → Can this dessert be made gluten-free?
-
Yes, by using gluten-free chocolate cookie crumbs for the crust, the dessert can be adapted for gluten-free diets.