 Save
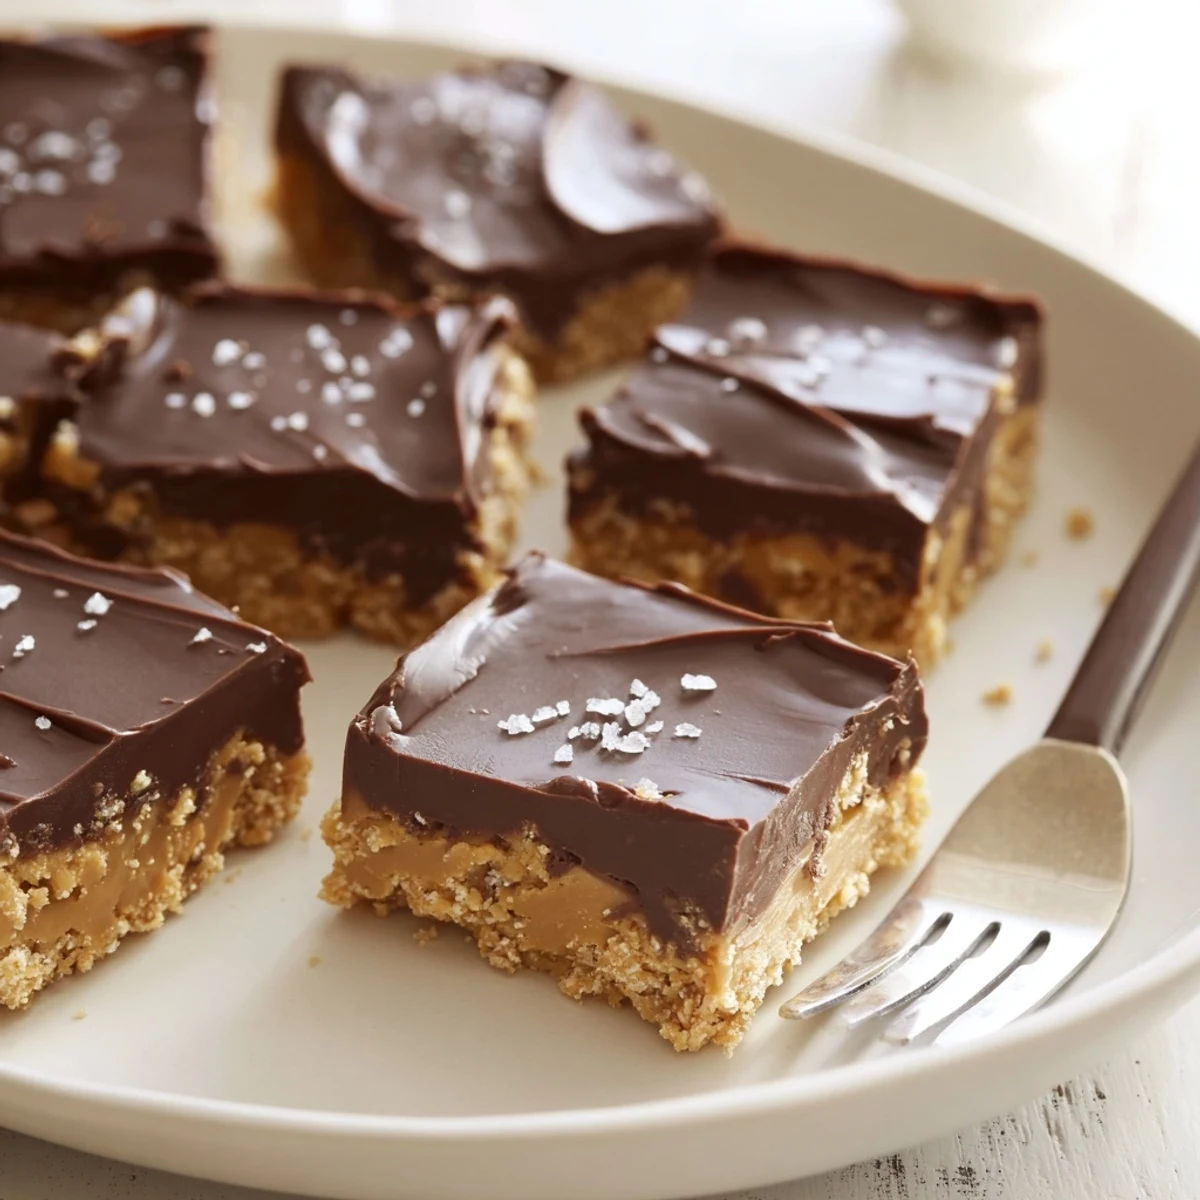
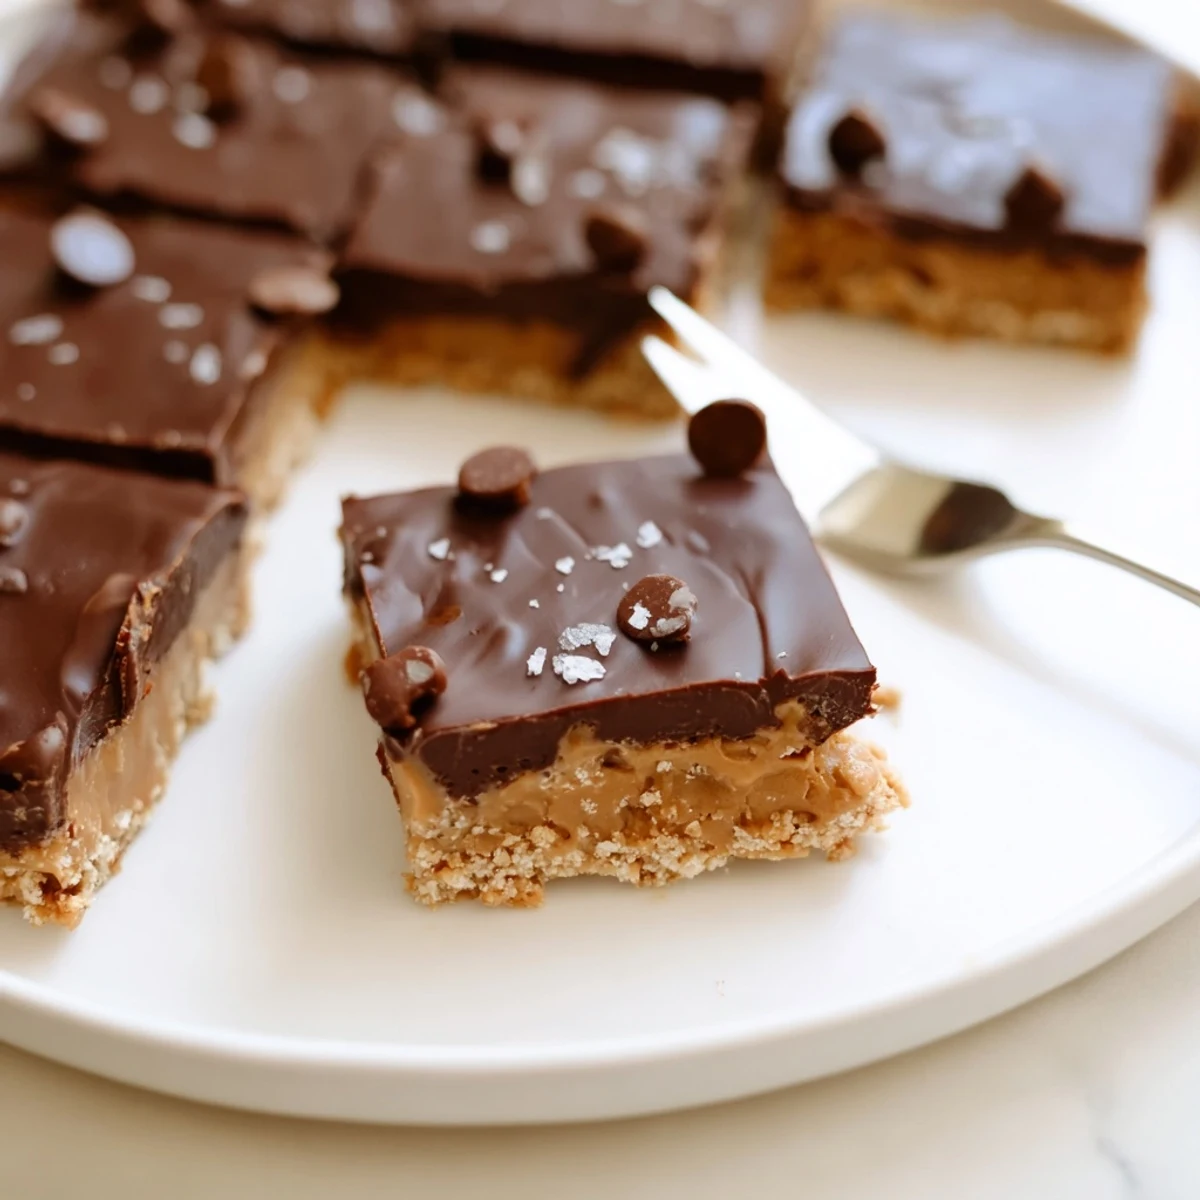
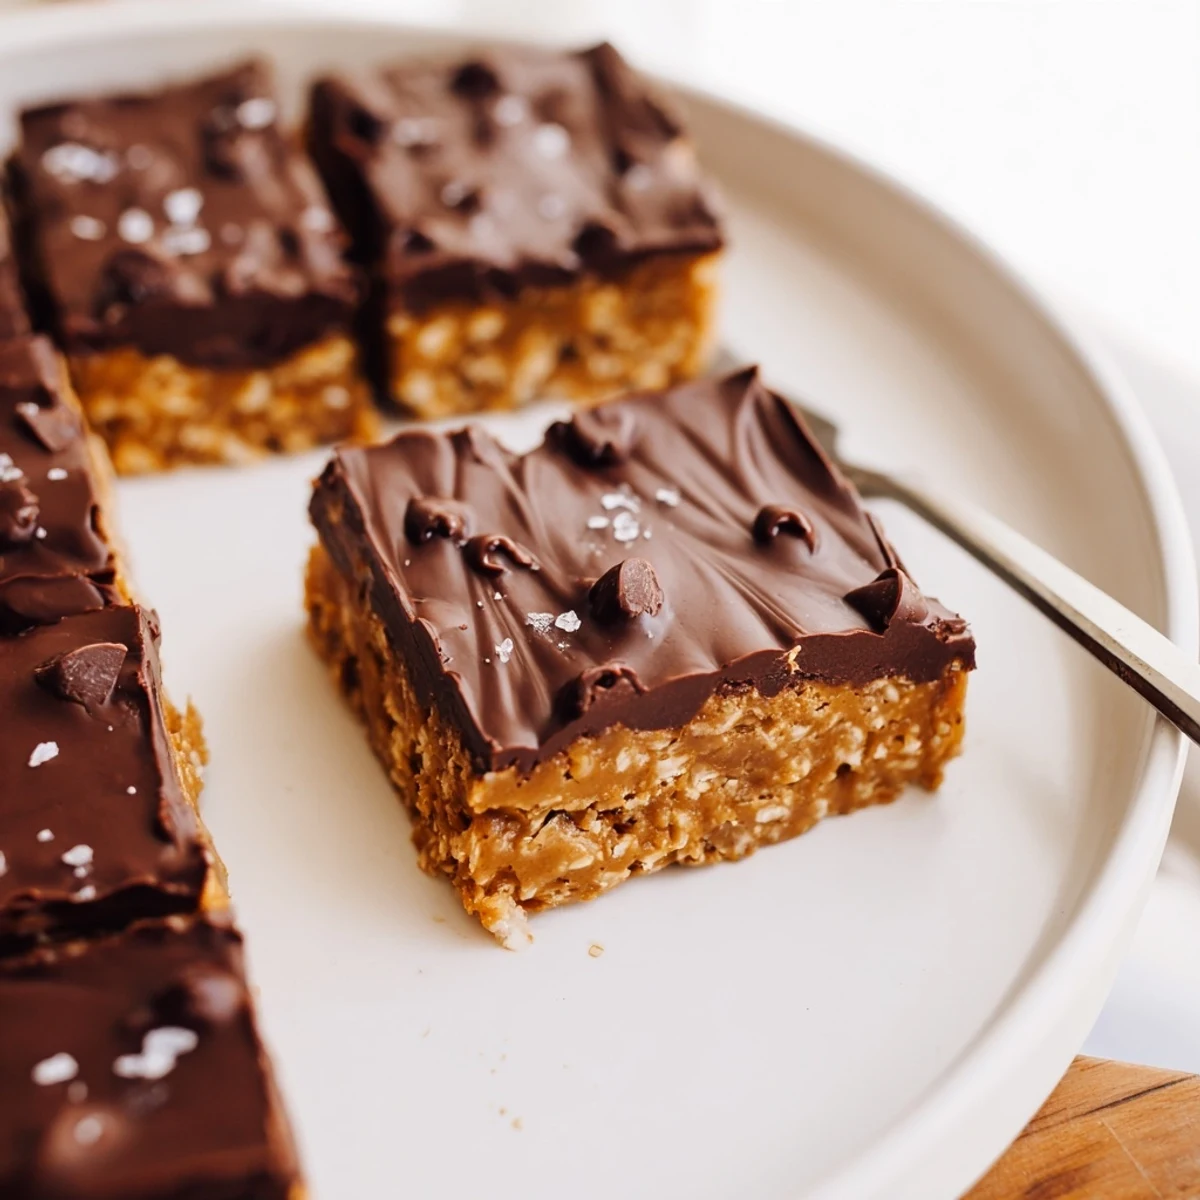
Save These no-bake peanut butter bars combine a buttery peanut base—creamy peanut butter, melted butter, powdered sugar and graham crumbs—with a glossy chocolate-peanut topping. Press the base into an 8x8 pan, pour warmed chocolate blended with peanut butter, then refrigerate at least 2 hours until firm. Serve chilled; swap crunchy peanut butter or chopped peanuts for texture, or use gluten-free cookies to adapt.
Some desserts come together so simply, it's as if they're meant to be shared at the spur of a craving. The first time I whipped up these No Bake Peanut Butter Bars, it wasn't planned at all—the sound of rain on the windows just made turning on the oven feel wrong. The kitchen filled with the cozy aroma of peanut butter and chocolate as I layered everything together. By the time the clouds cleared, there was a tray of chilled bars waiting to be devoured.
One Saturday afternoon, my neighbor popped by with her kids, all sticky fingers and laughter. I remember how quickly I was able to slice up these bars while we chatted, and the conversation seemed sweeter for it. There’s something about serving them straight from the fridge, cold and creamy, that makes even a simple gathering feel like a special treat.
Ingredients
- Creamy peanut butter: Opt for a smooth, spreadable kind for a silky base—if you've only got chunky, just roll with it for some unexpected crunch.
- Unsalted butter, melted: Let it cool a moment before mixing or you’ll risk melting your sugar too soon.
- Powdered sugar: Sift it if it's clumpy for an ultra-smooth bar—no one loves a surprise sugar lump.
- Graham cracker crumbs: Don’t worry about brand; I once smashed up some biscuits with a rolling pin, and nobody was the wiser.
- Vanilla extract: A little splash wakes up the peanut butter flavor beautifully.
- Semi-sweet chocolate chips: Melting these slowly keeps the topping lush and glossy.
- Creamy peanut butter (for topping): Stirring it into the chocolate makes spreading so much easier (and tastier).
Instructions
- Pan Prep:
- Lay parchment paper into your 8x8 pan, making sure extra paper is hanging over two sides for a trouble-free lift later.
- Mix the Base:
- In your largest bowl, stir together melted butter and peanut butter until the mixture is gleaming and smooth; the scent alone tells you you're on the right track.
- Sweeten and Bind:
- Add powdered sugar, graham cracker crumbs, and vanilla, then stir and press together until a thick, manageable dough forms—don’t be afraid to use your hands near the end.
- Pack the Pan:
- Press the dough firmly into the bottom of your prepared pan, taking a moment to smooth the surface with the back of a spatula.
- Make the Topping:
- In a microwave-safe bowl, combine chocolate chips and extra peanut butter, heating in short bursts and stirring each time until melted and glossy.
- Spread and Chill:
- Pour your warm chocolate mixture evenly over the base, coaxing it gently to the edges, then slide the pan into the fridge for at least two hours.
- Slice and Serve:
- Once set, use the parchment handles to lift the whole slab out, cut into bars (wipe your knife between cuts for cleaner edges), and serve cold.
 Save
Save I’ll never forget bringing a plate of these still-cool bars to a summer block party. Everyone—from chocolate lovers to peanut butter diehards—hovered over the plate all evening, and not one piece was left behind. That’s when I realized this recipe was more than a shortcut; it was a party MVP.
How to Store and Keep Them Fresh
I always store these bars in a tightly sealed container in the fridge—the texture stays perfectly firm, and the flavors actually get better by day two. If your kitchen gets extra warm, a cold bar is even more of a treat after dinner.
Ways to Switch Up the Recipe
If you’re feeling playful, swap the graham cracker crumbs for crushed pretzels or gluten-free cookies for an easy twist. Sometimes I sprinkle a pinch of sea salt on top before chilling for a little fancy crunch, or fold in chopped nuts for texture when I’m feeling ambitious.
Troubleshooting, Serving, and Last Minute Tips
If you’re slicing these straight from the fridge, dip your knife in hot water for cleaner, neater edges—it’s a tiny step that makes a big difference with presentation.
- Don’t skip the parchment paper, or you’ll regret the cleanup.
- If the topping resists spreading, give it five seconds more in the microwave—no more, or it might seize up.
- Let the bars sit at room temp for five minutes before cutting, so they’re just the right amount of fudgy.
 Save
Save Whether it’s for a party, a quiet weeknight, or a spontaneous rainy-day treat, these no-bake bars promise to turn any moment into something sweet. Just be ready: they’ll disappear faster than you think.
Recipe Q&A
- → How long do the bars need to chill?
-
Chill for at least 2 hours to allow the base to firm and the chocolate topping to set. For cleaner slices, refrigerate 3–4 hours or briefly freeze before cutting.
- → Can I use crunchy peanut butter?
-
Yes. Using crunchy peanut butter adds toasted peanut bits to the base; you can also stir in chopped roasted peanuts for extra crunch in either the base or topping.
- → What’s the best way to melt the chocolate topping?
-
Melt chocolate chips with the additional peanut butter in 30-second microwave intervals, stirring between each, until smooth. Alternatively, use a double boiler over simmering water for gentler heat.
- → How can I make these gluten-free?
-
Substitute the graham cracker crumbs with certified gluten-free cookie crumbs or crushed gluten-free graham crackers. Ensure all other ingredients are labeled gluten-free.
- → How should leftovers be stored?
-
Keep bars in an airtight container in the refrigerator for up to one week. For longer storage, freeze in a single layer separated by parchment, then transfer to a freezer-safe container for up to 2 months.
- → Any tips for neat slicing?
-
Lift the set slab using the parchment overhang and chill until very firm. Run a sharp knife under hot water, dry it, then make clean cuts, wiping the blade between slices for tidy edges.