 Save
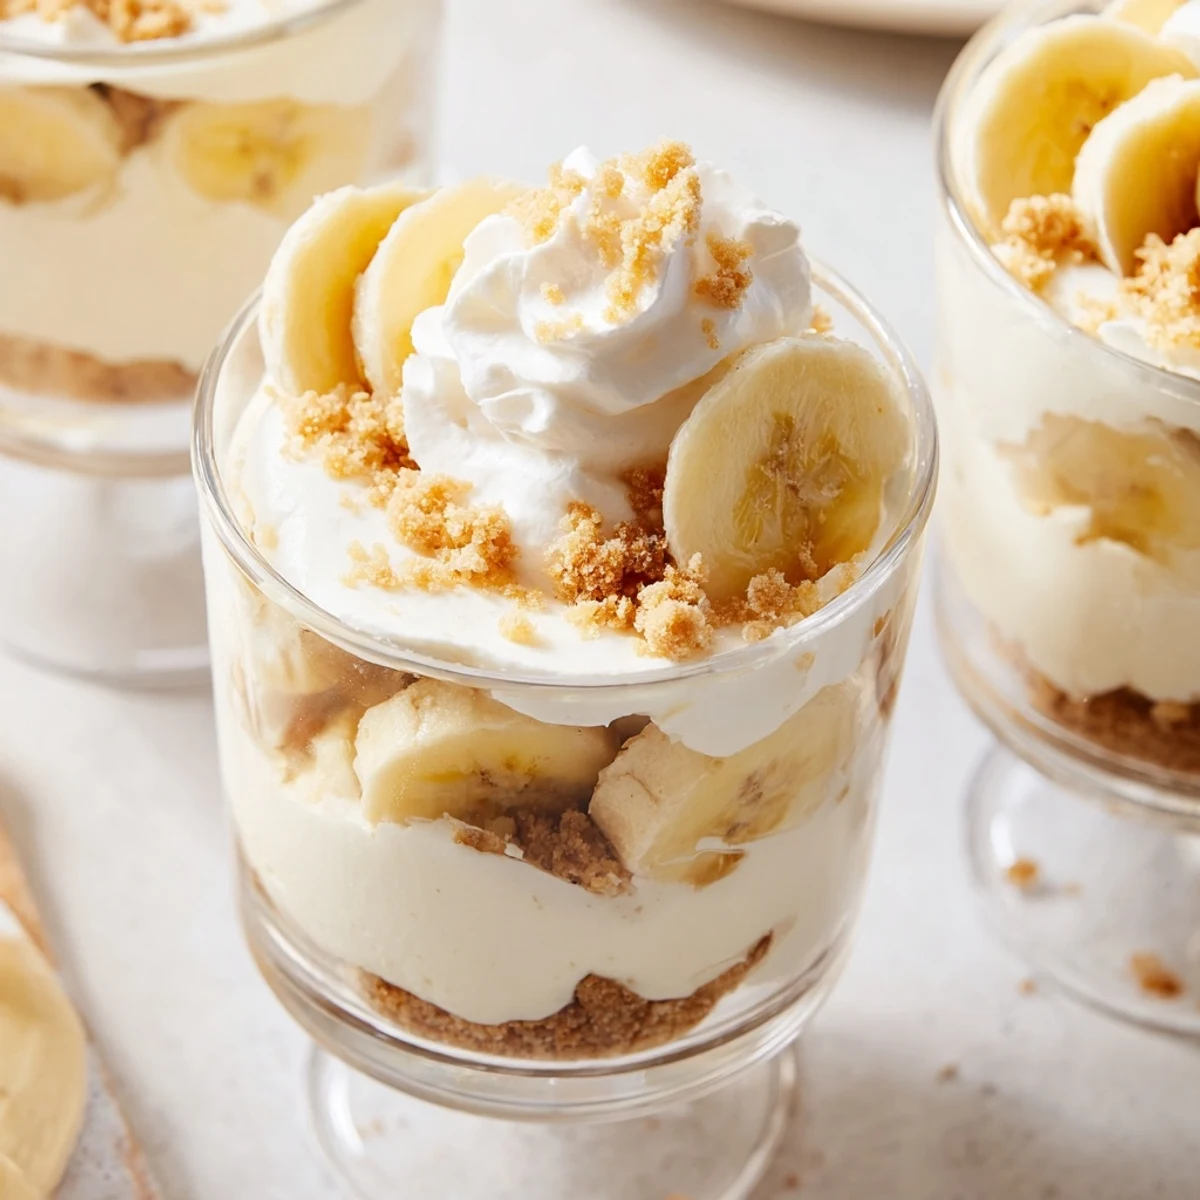
Save These individual cups feature layers of velvety cheesecake filling and classic banana pudding, all nestled atop a buttery vanilla wafer crust. The no-bake preparation comes together in just 20 minutes, making it an effortless dessert for entertaining or weeknight treats. Each cup delivers the perfect balance of creamy textures and sweet banana flavor, finished with crispy crumbs and fresh banana slices. After a brief chill in the refrigerator, these portable desserts are ready to serve.
My sister called me last summer, voice hushed like she was sharing a secret. She had discovered these layered cups at a potluck and couldn't stop thinking about them. I made them that weekend, and honestly, my kitchen has never smelled quite so inviting.
I brought a tray of these to my book club meeting, and three people asked for the recipe before we even discussed the book. There is something about having your own individual dessert that makes people feel special.
Ingredients
- 1 cup vanilla wafer cookies, crushed: These buttery little cookies create the perfect crunchy foundation, and I have found that crushing them by hand gives you nicer texture variations than a food processor
- 2 tbsp unsalted butter, melted: The glue that holds your crust together, and using unsalted lets you control the overall sweetness
- 8 oz cream cheese, softened: Absolutely must be room temperature or you will end up with lumpy filling, a lesson I learned the hard way
- 1/3 cup granulated sugar: Just enough sweetness to balance the tanginess of the cream cheese without overpowering the banana flavor
- 1 tsp pure vanilla extract: Do not skimp here, real vanilla makes all the difference in the cheesecake layer
- 1 cup heavy whipping cream, cold: The temperature matters—cold cream whips up beautifully and gives your cheesecake that cloudlike texture
- 1 package instant banana pudding mix: The shortcut that makes this recipe come together so quickly without sacrificing flavor
- 1 1/4 cups cold whole milk: Whole milk creates the richest pudding layer, though I have used 2% in a pinch
- 2 ripe bananas, sliced: Look for bananas with some brown spots—they are sweeter and have that intense banana flavor we want
- Additional vanilla wafer crumbs: For that final crunchy topping that catches your eye
- Fresh banana slices: The garnish that tells everyone exactly what delicious flavor awaits inside
- Whipped cream: Optional but highly recommended for that finishing touch
Instructions
- Build the buttery crust foundation:
- In a small bowl, combine the crushed vanilla wafers with melted butter, mixing until every crumb is coated and the texture resembles wet sand. Spoon about 2 tablespoons into the bottom of each serving cup, pressing down gently with the back of your spoon to create an even layer.
- Whip up the cloudlike cheesecake:
- Beat the softened cream cheese, sugar, and vanilla extract in a medium bowl until completely smooth and creamy, with no lingering lumps. In a separate chilled bowl, whip the cold heavy cream until stiff peaks form, then gently fold it into the cream cheese mixture until no white streaks remain.
- Prepare the silky banana pudding:
- Whisk together the instant banana pudding mix and cold milk in another bowl for about 2 minutes, until the mixture has thickened beautifully and coats the back of a spoon.
- Layer all the components:
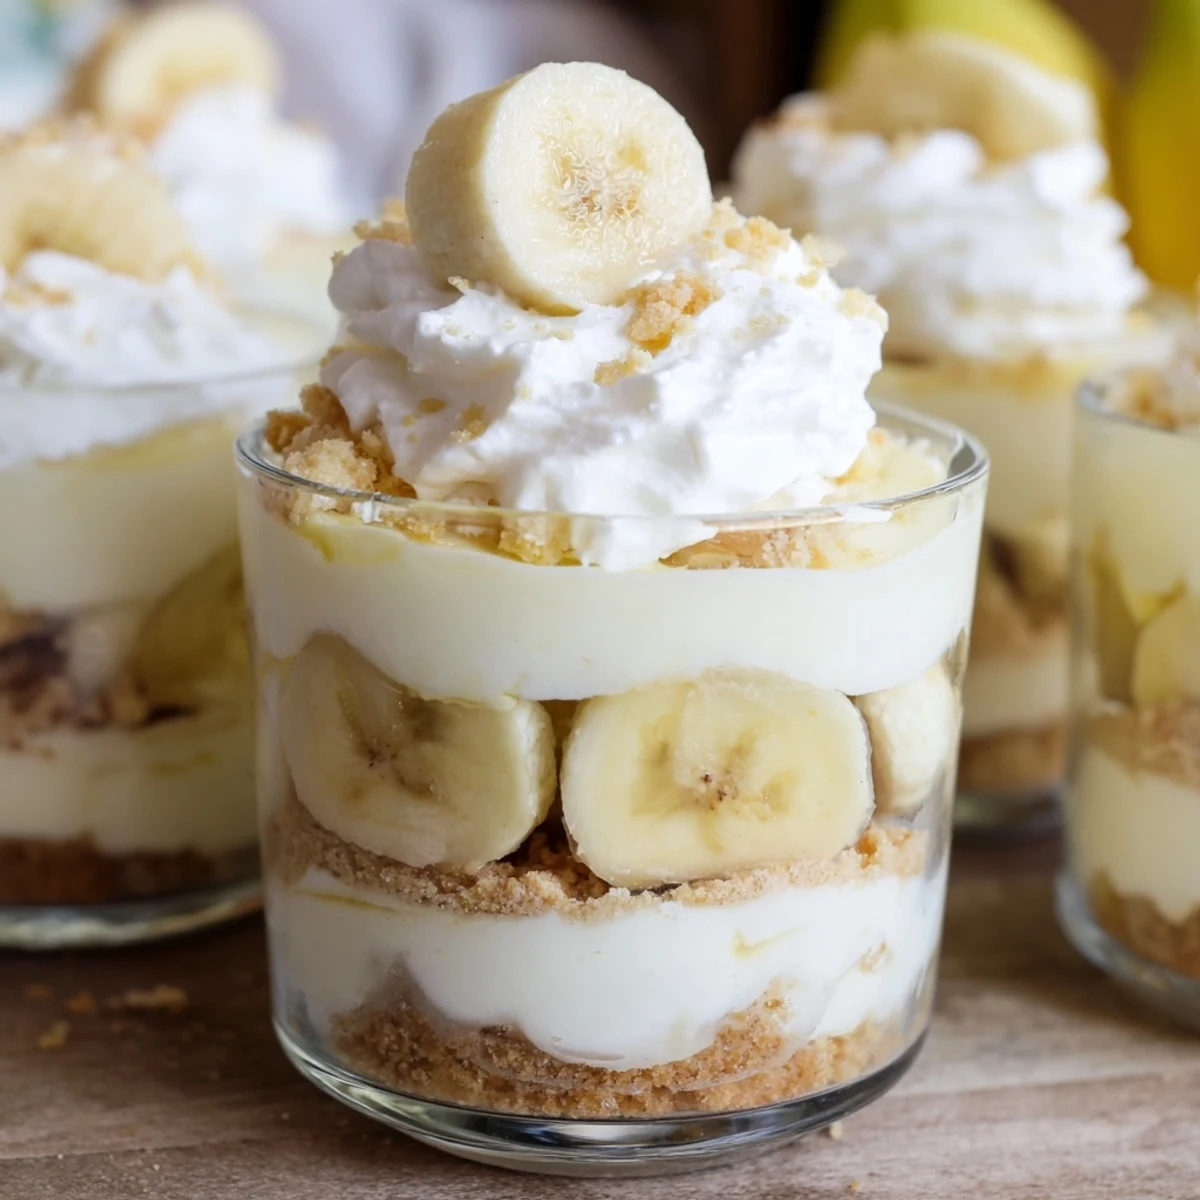
- Spread half the cheesecake filling over the crust in each cup, followed by a layer of fresh banana slices. Spoon the banana pudding over the bananas, then top with the remaining cheesecake mixture, spreading it carefully so the layers stay distinct.
- Add the finishing touches:
- Sprinkle each cup generously with additional wafer crumbs, arrange a few fresh banana slices on top, and add a dollop of whipped cream if you are feeling fancy. Cover and refrigerate for at least 2 hours, though I promise they taste even better if you can wait overnight.
 Save
Save My husband, who claims he is not a dessert person, ate three of these the first time I made them. Now he asks for them on his birthday instead of cake.
Making Ahead
These cups actually improve with a little time in the refrigerator. The flavors meld together beautifully, and the crust softens slightly while still maintaining that satisfying crunch. I often make them the night before a gathering, which makes entertaining feel effortless.
Serving Suggestions
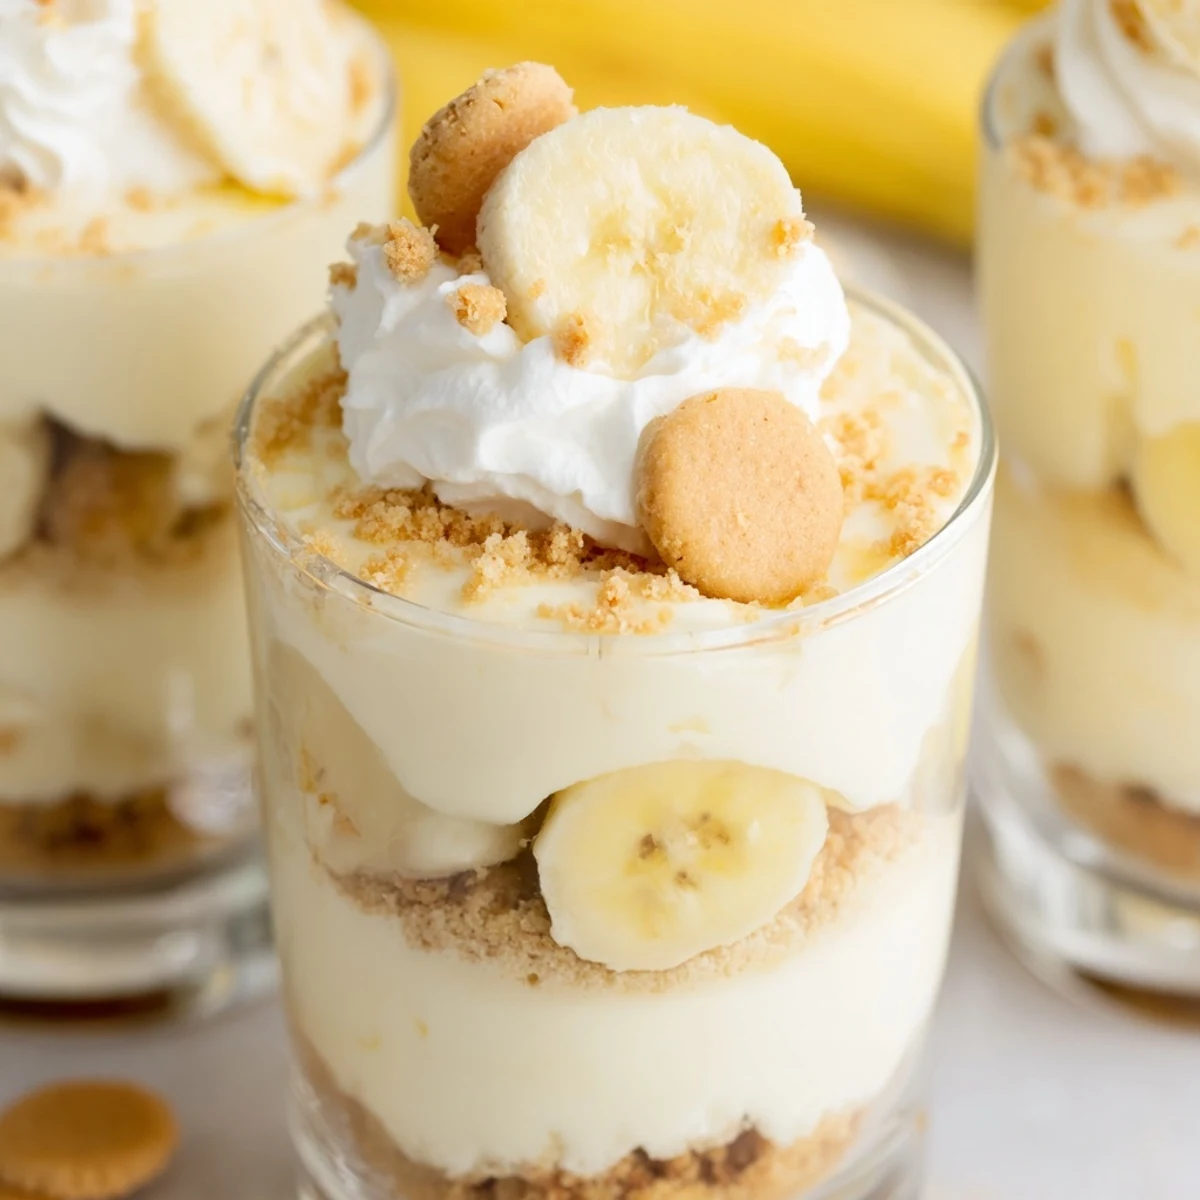
Clear glass cups or jars show off the beautiful layers and make these feel extra special. I use vintage juice glasses I found at a thrift store, but mason jars work perfectly too. Set them out on a tray and watch your guests eyes light up when they realize everyone gets their own individual dessert.
Customization Ideas
Do not be afraid to make this recipe your own based on what you love or have on hand.
- Try adding a sprinkle of cinnamon to the crust for warmth
- Swap the banana pudding for butterscotch or chocolate pudding mix
- Crush graham crackers or Nilla wafers work equally well for the crust
 Save
Save These little cups have become my go-to dessert for every occasion now. Hope they become a favorite in your kitchen too.
Recipe Q&A
- → Can I make these cups ahead of time?
-
Yes, you can prepare these cups up to 24 hours in advance. Simply assemble all layers except the fresh banana toppings, cover tightly, and refrigerate. Add fresh banana slices and whipped cream just before serving to prevent browning and maintain optimal texture.
- → What type of cups work best for serving?
-
Clear glass cups, mason jars, or small dessert bowls work beautifully as they showcase the attractive layers. You'll need six containers holding about 6-8 ounces each. The transparent vessels let the creamy layers shine through for an impressive presentation.
- → How do I prevent the bananas from turning brown?
-
To keep banana slices fresh and prevent oxidation, toss them lightly in lemon juice before adding to the cups. Alternatively, add fresh banana slices immediately before serving. For longer storage, you can omit the banana garnish until serving time.
- → Can I use homemade pudding instead of instant mix?
-
Absolutely! Homemade banana pudding made from scratch will add an extra layer of richness. Prepare a traditional custard-based pudding and allow it to cool completely before layering. You may need to adjust the sweetness slightly since the cheesecake layer also contains sugar.
- → What's the best way to crush the vanilla wafers?
-
Place the vanilla wafer cookies in a sealed plastic bag and crush them with a rolling pin or meat mallet for the crust. For finer, more uniform crumbs, pulse them in a food processor. The topping should have slightly coarser crumbs for texture contrast.
- → Can I freeze these cheesecake cups?
-
Freezing is not recommended as the texture of the banana pudding and fresh bananas will be compromised. The pudding can become watery and bananas develop an unpleasant texture when thawed. These cups are best enjoyed fresh from the refrigerator within 1-2 days.