 Save
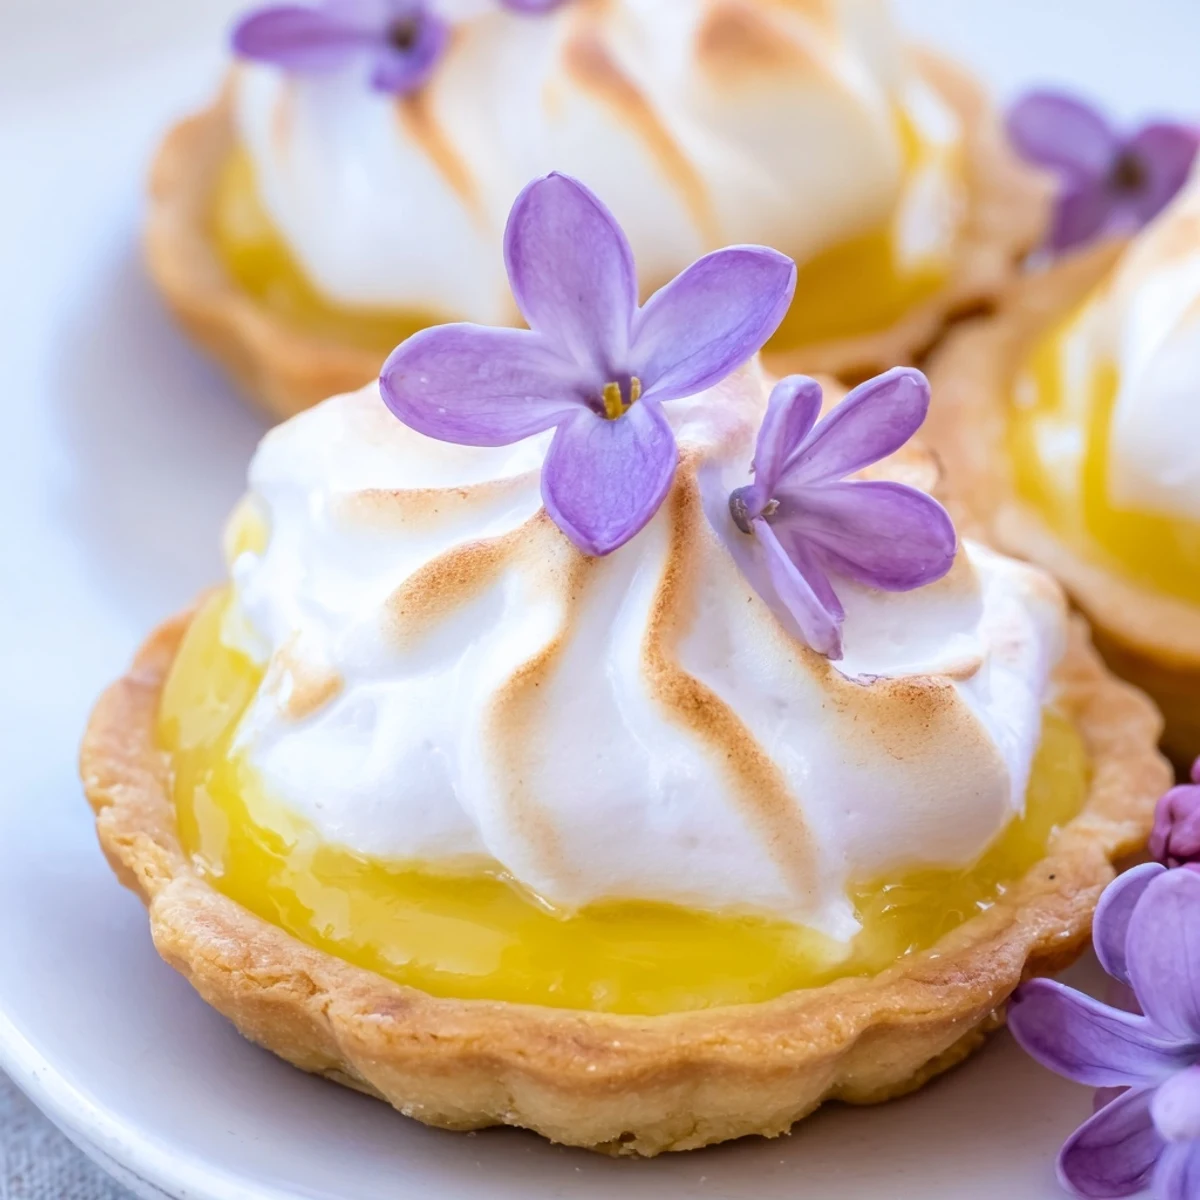
Save These elegant miniature tarts combine buttery pastry shells with velvety smooth lemon curd, crowned by delicate lilac-infused meringue. The floral notes from fresh lilac syrup create a sophisticated dessert perfect for spring gatherings.
The process begins with creating tender tart shells from scratch, then crafting a rich lemon curd on the stovetop. Finally, whipped meringue gets a subtle floral infusion before being lightly toasted for that irresistible golden finish.
Last spring, my neighbor's lilac bush overflowed into my yard, and I found myself snipping blossoms at sunset, wondering if I could capture that scent in something edible. These mini tarts were born from that impulse, and somehow the floral sweetness balances the tart lemon in ways I didn't expect. My husband claims they taste like a garden breeze, which sounds absurd until you take that first bite.
I made these for my book club last April, right when the lilacs were at their peak, and watched six grown women go quiet mid-bite. Someone actually asked if I'd been secretly taking pastry classes, which I took as the highest possible compliment given my history of burned cookies and collapsed cakes.
Ingredients
- All-purpose flour: Provides structure for the tart shell foundation that holds everything together
- Powdered sugar: Dissolves more easily than granulated sugar, creating a tender, melt-in-your-mouth crust
- Cold butter: Essential for achieving those flaky layers that make a tart shell truly exceptional
- Egg yolk: Adds richness and helps bind the dough while contributing to that golden color
- Lemon juice: Fresh is absolutely necessary here, and I've learned room temperature lemons yield more juice
- Lilac syrup: This is the magic ingredient that makes these tarts unforgettable, though elderflower works in a pinch
Instructions
- Make the tart shells:
- Cold butter is your friend here, so work quickly and keep those cubes chilled until the moment they hit the flour. Press the dough directly into your tart pans rather than rolling it out, which I find creates fewer cracks and a more forgiving shape.
- Prepare the lemon curd:
- Whisk constantly and don't walk away from the stove, because this sauce transforms from liquid to curd in the span of about thirty seconds. The moment it coats the back of your spoon, remove it from heat immediately.
- Assemble the tarts:
- Let both components cool completely before combining, or you'll end up with melted curd and soggy shells, which I learned the hard way during my first attempt.
- Whip the meringue:
- Room temperature egg whites achieve better volume, so set them out about twenty minutes before you need them. Beat until those peaks stand up proudly, then gently fold in the lilac syrup so you don't knock out all that air you worked so hard to incorporate.
 Save
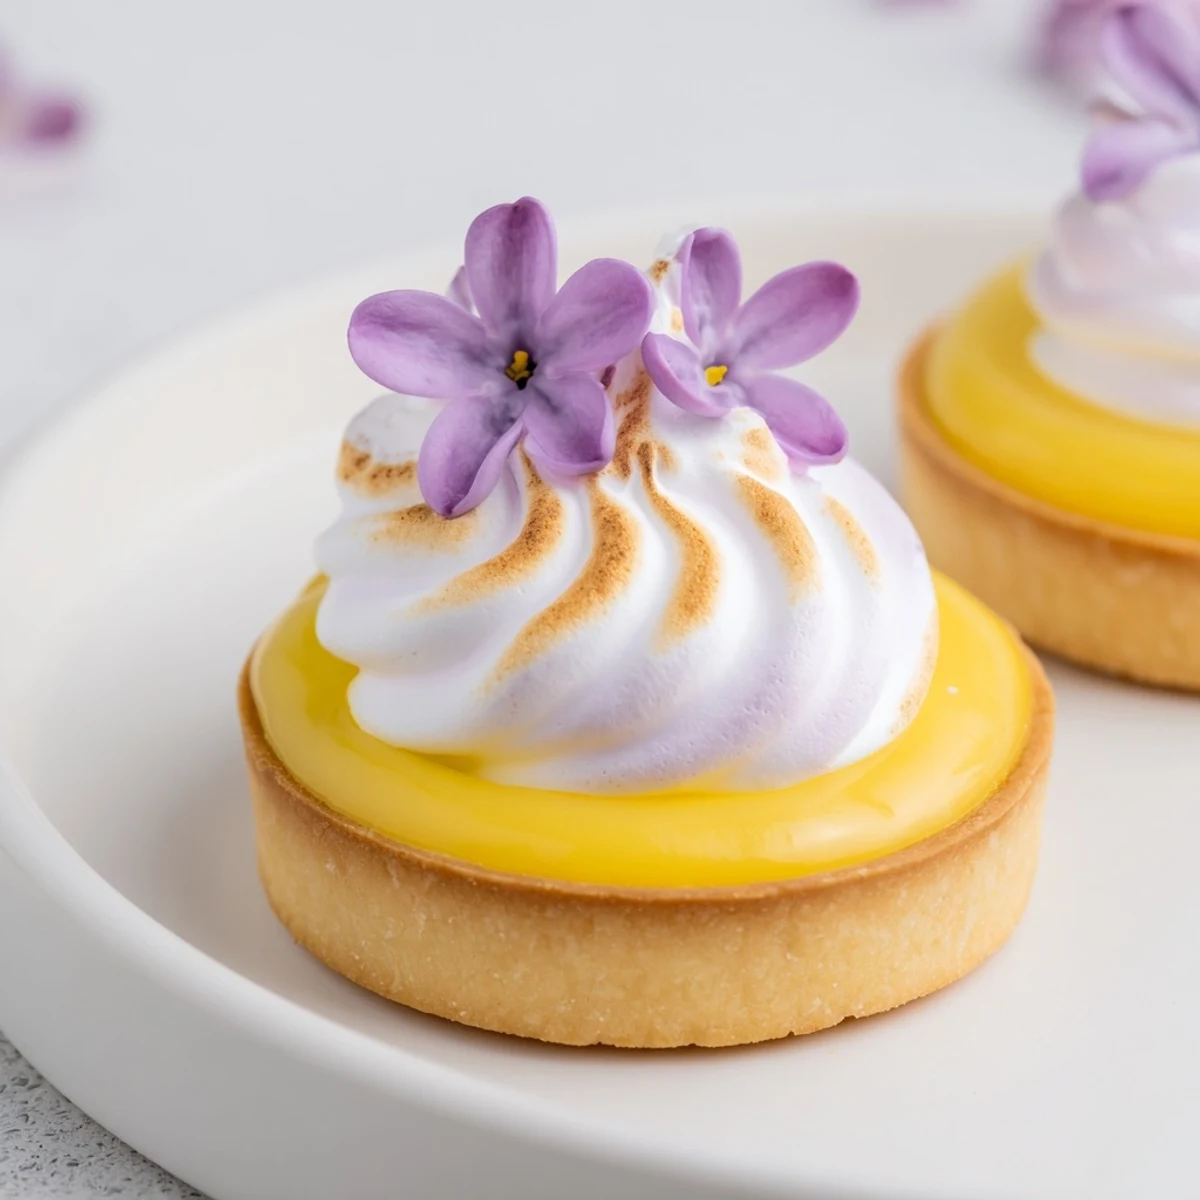
Save My daughter helped me pipe the meringue last time, and she created these whimsical swirls that looked like little lilac clouds. Sometimes the most beautiful kitchen moments happen when you hand over the torch and let someone else add their touch.
Working With Floral Flavors
Floral ingredients can be overwhelming, so start with less syrup than you think you need and taste as you go. I once accidentally made a batch that tasted like perfume, which was a memorable lesson in restraint.
Timing Your Assembly
The tart shells and lemon curd actually improve after a day in the refrigerator, so I often make those components the night before. This approach breaks the work into manageable chunks and somehow makes the final assembly feel almost effortless.
Perfecting Your Torch Technique
Keep the torch moving in slow circles rather than holding it in one spot, which prevents the meringue from scorching while creating those gorgeous caramelized peaks. The difference between properly toasted and sadly burned is about three seconds of patience.
- A small kitchen torch gives you more control than a broiler for these delicate mini tarts
- Work quickly once you start torching, as the meringue begins settling almost immediately
- If you don't have a torch, a quick pass under the broiler works, but watch it like a hawk
 Save
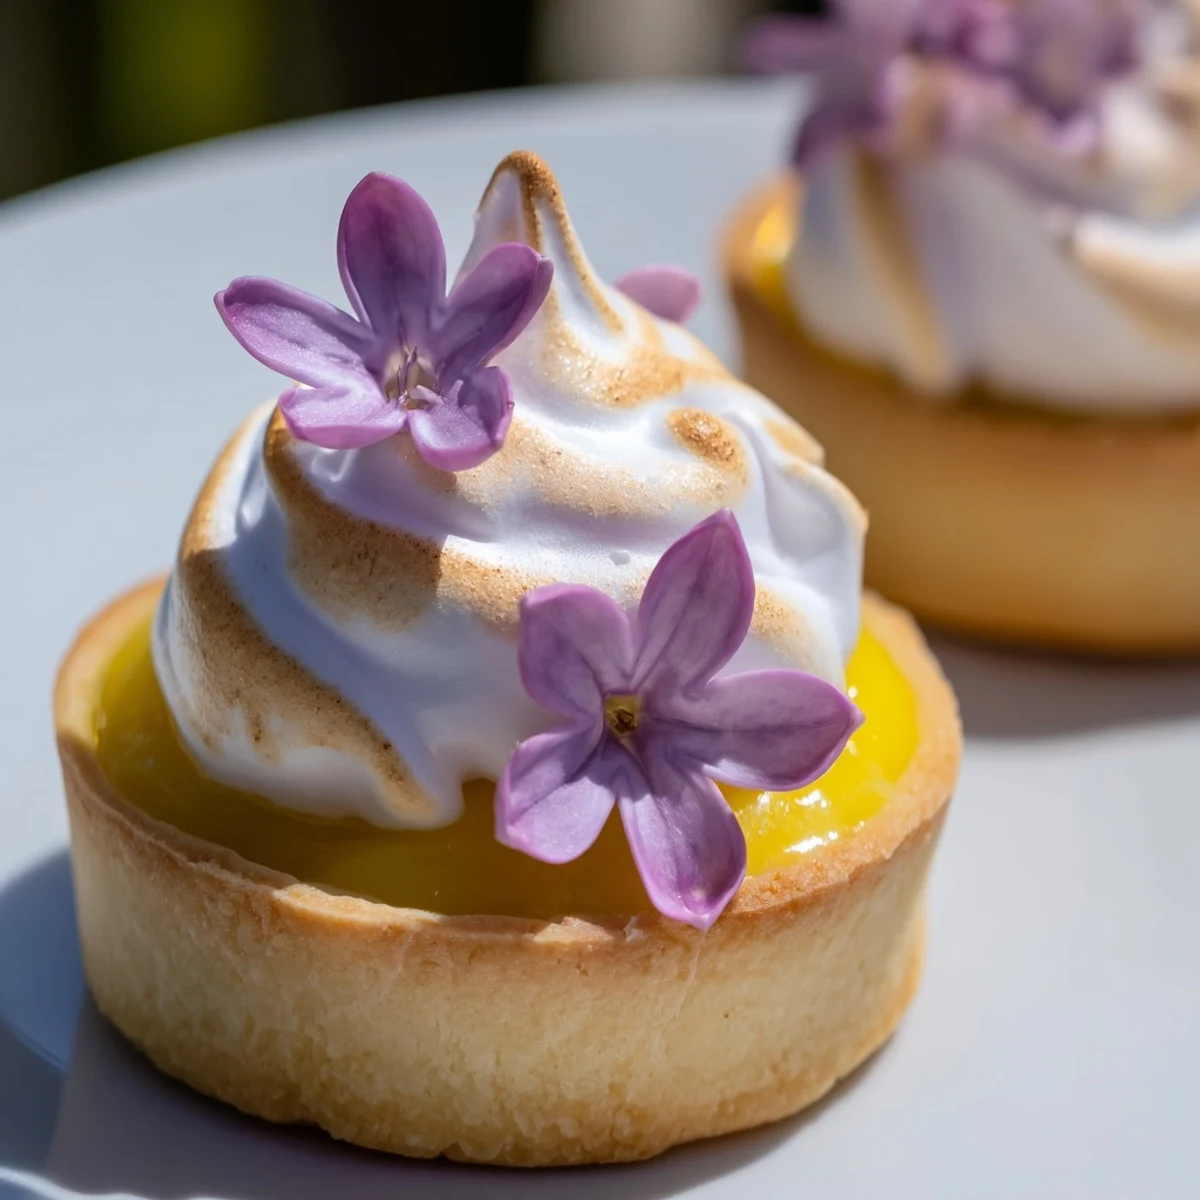
Save These tarts capture everything I love about spring baking, bright and hopeful and gone far too soon. Make them while the lilacs are still blooming, or at least while you can still remember what they smell like.
Recipe Q&A
- → Can I make these tarts ahead of time?
-
The tart shells and lemon curd can be prepared one day in advance and stored separately in the refrigerator. For best results, add the meringue topping and torch it just before serving to maintain its fluffy texture.
- → What can I substitute for lilac syrup?
-
If lilac syrup is unavailable, elderflower syrup works beautifully as a substitute. Alternatively, use a few drops of food-grade lavender extract or vanilla extract for different floral notes that complement the lemon.
- → How do I know when the lemon curd is thick enough?
-
The curd is ready when it coats the back of a wooden spoon and leaves a clear path when you run your finger through it. This typically takes 6-8 minutes of constant stirring over medium-low heat.
- → Do I need a kitchen torch for the meringue?
-
A kitchen torch creates the classic toasted meringue appearance and adds subtle caramelized flavor, but it's optional. You can also place the assembled tarts under a broiler for 30-60 seconds, watching closely to prevent burning.
- → How should I store leftover tarts?
-
Store assembled tarts in the refrigerator for up to 4 hours. Beyond that, the meringue may begin to weep. For longer storage, keep components separate and assemble just before serving.