 Save
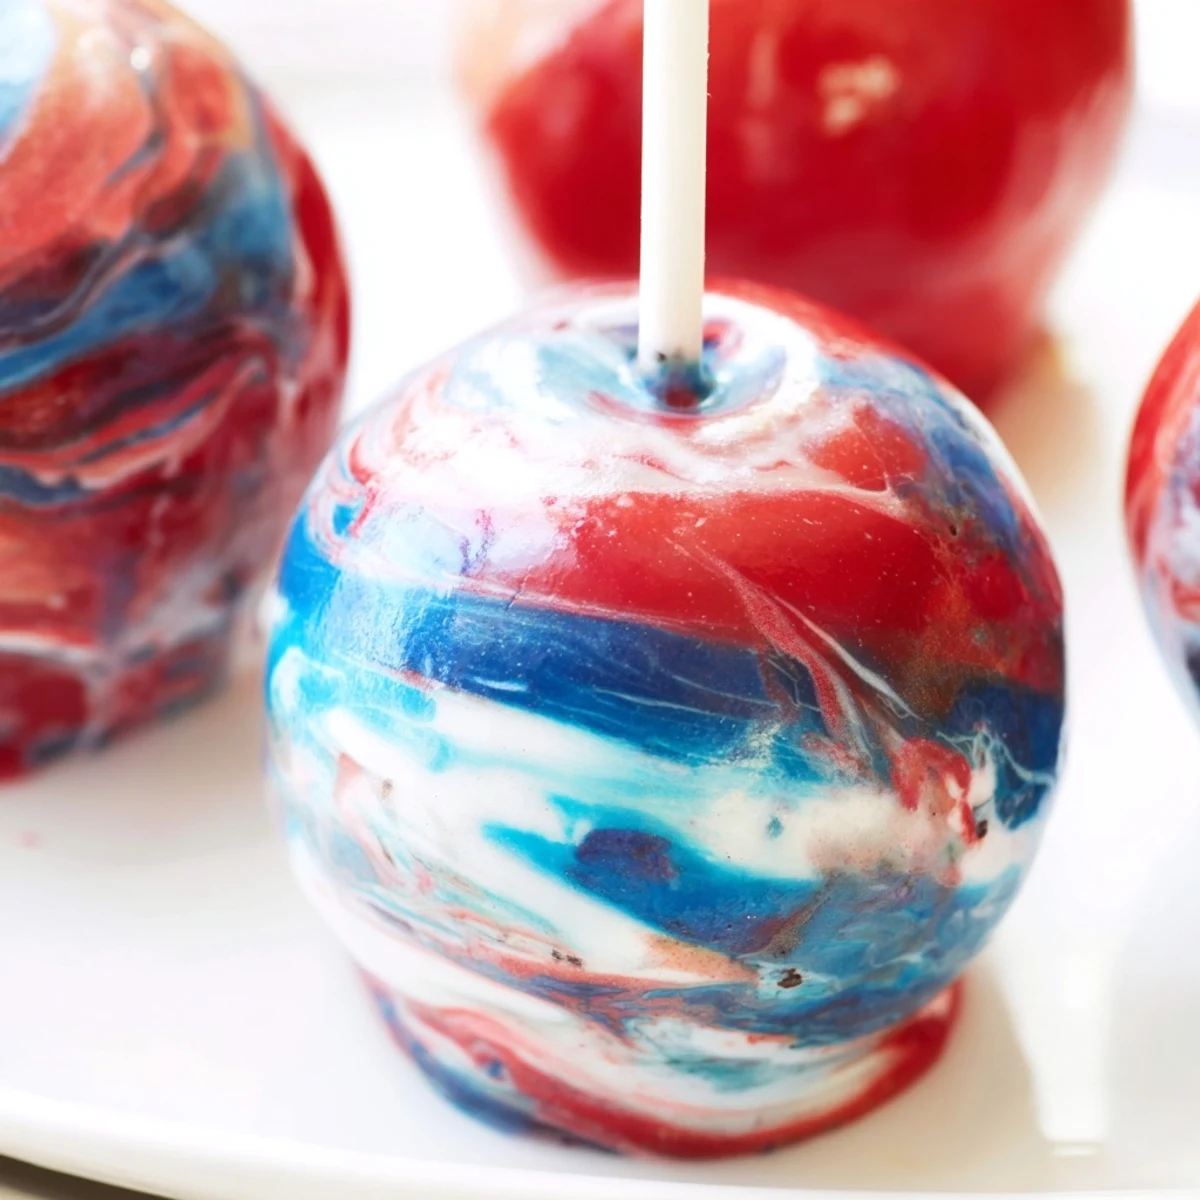
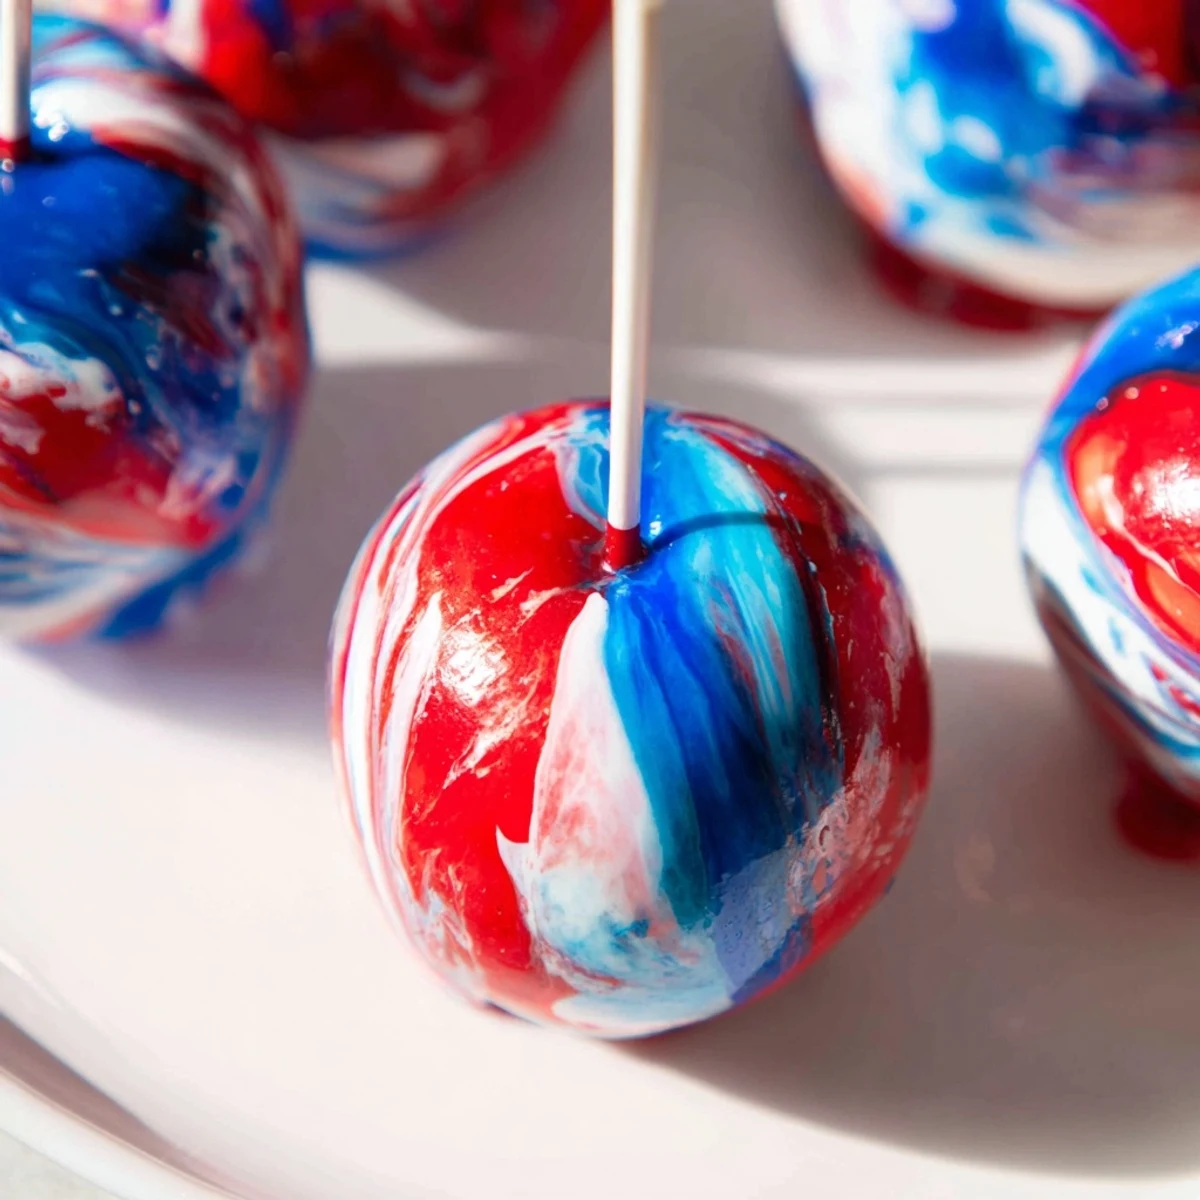
Save These marbled candy apples feature crisp apples coated in a glossy, vibrantly swirled candy shell. The technique involves creating a hard candy coating with sugar, corn syrup, and water, then adding gel food colorings in streaks to achieve the marbled effect. Perfect for parties, holidays, or whimsical dessert tables, these treats combine visual appeal with classic candy apple flavor.
The first time I tried making marbled candy apples, I stood in my kitchen completely mesmerized watching the colors swirl together like edible magic. It was late October, rain tapping against the window, and something about creating something so beautiful from just sugar and color felt like the perfect antidote to a gray afternoon. That batch taught me that the most spectacular kitchen creations often come from the simplest ingredients treated with a little patience and wonder.
Last autumn, I brought a basket of these to my nieces birthday party, and honestly, the gasps from the kids when they saw the swirling colors were better than any compliment I could have asked for. Watching them choose their favorites based on which marble pattern spoke to them reminded me that food can be pure joy. Even the adults could not resist grabbing one, suddenly eight years old again.
Ingredients
- 8 medium apples: Granny Smith or Fuji work beautifully here because their tartness balances the sweet candy coating and their firm texture holds up well
- 8 sturdy wooden sticks: Make sure they are thick enough not to snap when you are dipping and swirling
- 2 cups granulated sugar: This creates the glass like shell that cracks satisfyingly when you bite into it
- 3/4 cup water: Just enough to dissolve the sugar before it transforms into candy
- 1/2 cup light corn syrup: The secret ingredient that prevents the sugar from crystallizing and keeps your coating glossy
- 1/2 tsp vanilla extract: Optional but adds that warm bakery note everyone loves
- Red, blue, and white gel food coloring: Gel coloring is crucial here because liquid coloring will make your syrup seize up and turn grainy
Instructions
- Prep your station:
- Line a baking sheet with parchment paper or a silicone mat and push a wooden stick firmly into the stem end of each apple until it feels secure.
- Make the candy base:
- Combine sugar, water, and corn syrup in a heavy bottomed saucepan over medium heat, stirring just until the sugar disappears.
- Reach the hard crack stage:
- Crank the heat to high and let it boil without touching it until your candy thermometer hits 300°F, then immediately pull it off the heat.
- Create the marble:
- Stir in vanilla if using, then drop in several dots of each gel coloring and use a wooden skewer to swirl them gently just once or twice.
- Dip and swirl:
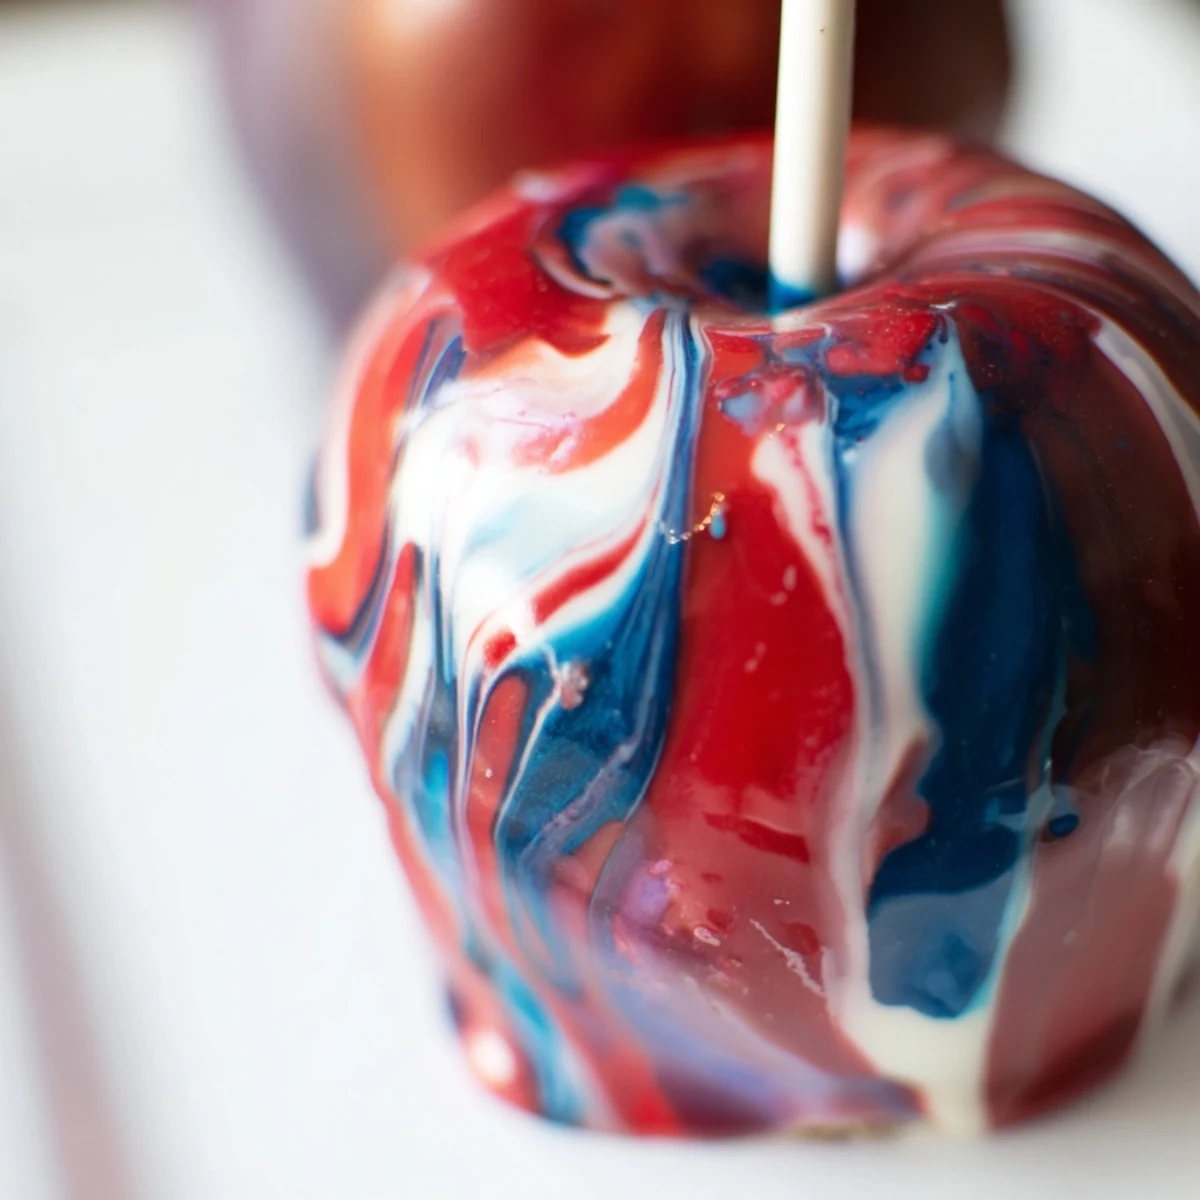
- Hold an apple by the stick and dip it into the syrup, turning and tilting to catch the color streaks before letting the excess drip off.
- Set and admire:
- Place each apple on your prepared sheet and let them cool completely until the candy shell hardens, about 15 minutes.
 Save
Save There is something almost meditative about watching the sugar climb in temperature, knowing that at exactly 300 degrees, liquid alchemy happens. My friend Sarah says the thermometer beeping is like the starting gun at a race and honestly she is not wrong.
Choosing Your Colors
I have found that contrasting colors create the most dramatic marble effect, like purple and yellow for a wild sunset vibe or pink and white for something softer. Last Christmas I made deep red and green ones that looked like holiday ornaments. The key is dropping the coloring in different spots rather than all in one pile.
Working with Hot Sugar
Candy burns are no joke, so keep a bowl of ice water nearby just in case and work deliberately rather than frantically. I learned this the hard way my first year when I tried to rush and ended up with beautiful apples but a throbbing finger. Respect the sugar and it will reward you.
Serving and Storing
These are best eaten the same day because humidity will eventually make the candy shell sticky over time. Wrap them individually in clear cellophane bags tied with twine for the prettiest presentation.
- Set up your dipping station before you even turn on the stove
- Have a glass of warm water ready to drop sticky tools into
- Enjoy the process because these are meant to be fun not perfect
 Save
Save There is pure magic in the first bite when that candy shell shatters and you get the crunch of sugar with the crisp apple underneath. Hope your kitchen is filled with that same wonder.
Recipe Q&A
- → What type of apples work best for candy coating?
-
Medium-firm apples like Granny Smith or Fuji work best as they hold up well to the hot candy coating and provide good contrast to the sweet shell.
- → How do I achieve the marbled effect?
-
Add a few drops of different colored gel food colorings to the hot candy syrup, then gently swirl with a skewer without fully mixing. The streaks create the marbled pattern when the apples are dipped.
- → Why is corn syrup used in the candy coating?
-
Corn syrup helps prevent crystallization and creates a smoother, more stable candy coating that stays glossy and doesn't become grainy.
- → How long do the candy apples stay fresh?
-
Finished candy apples can be stored at room temperature for up to 24 hours. The candy shell will harden as it cools.
- → Can I use different color combinations?
-
Absolutely! Try festive combinations like red and green for Christmas, or orange and black for Halloween. The marbling technique works with any gel food coloring colors.