 Save
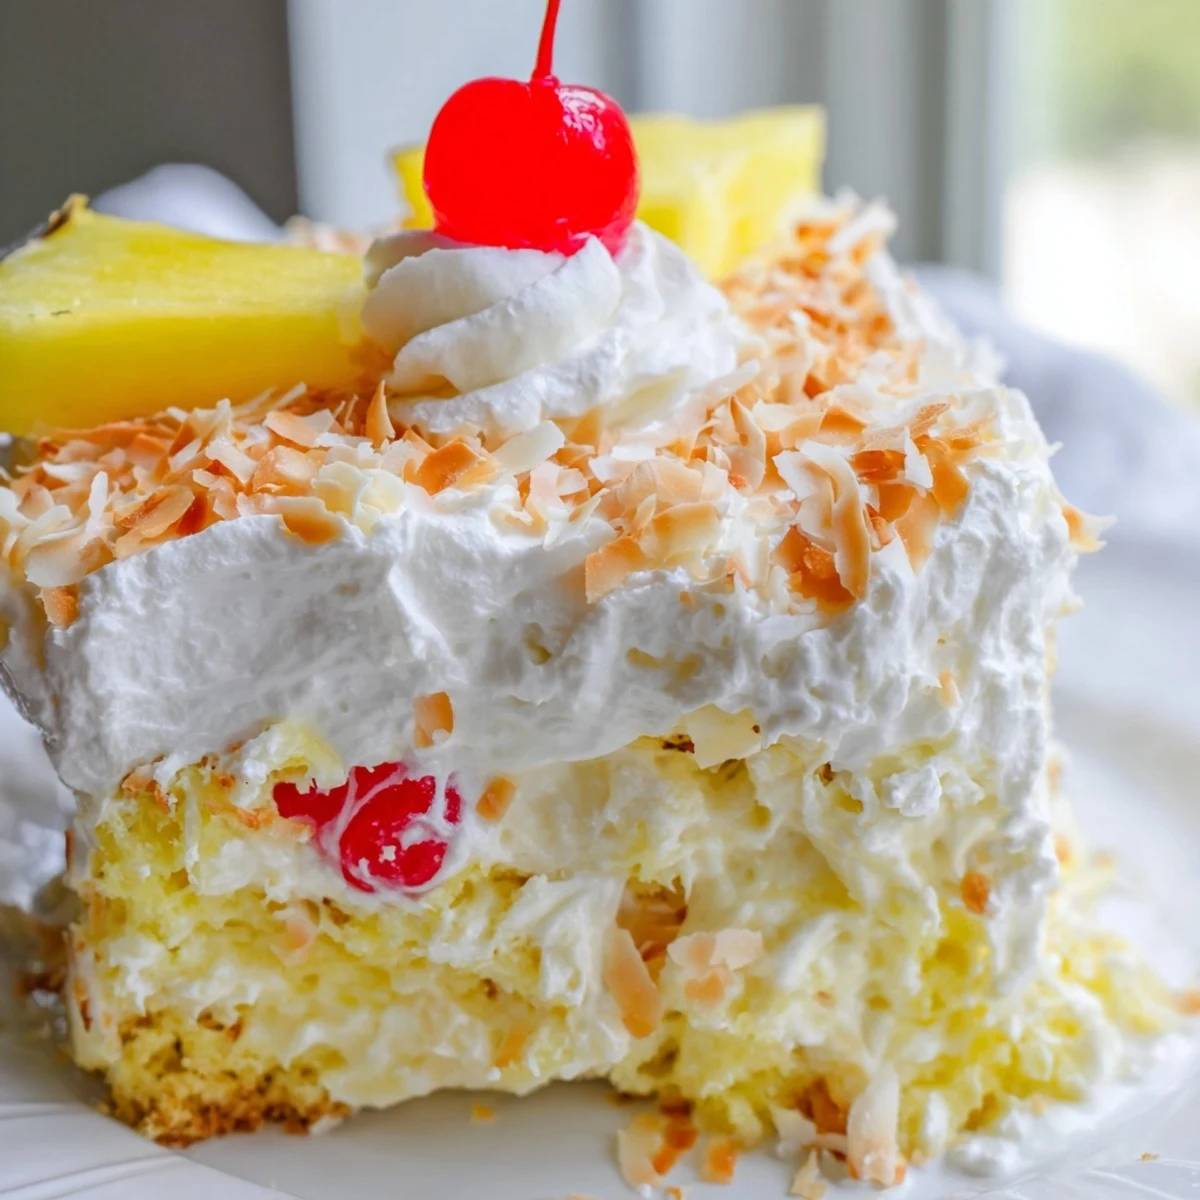
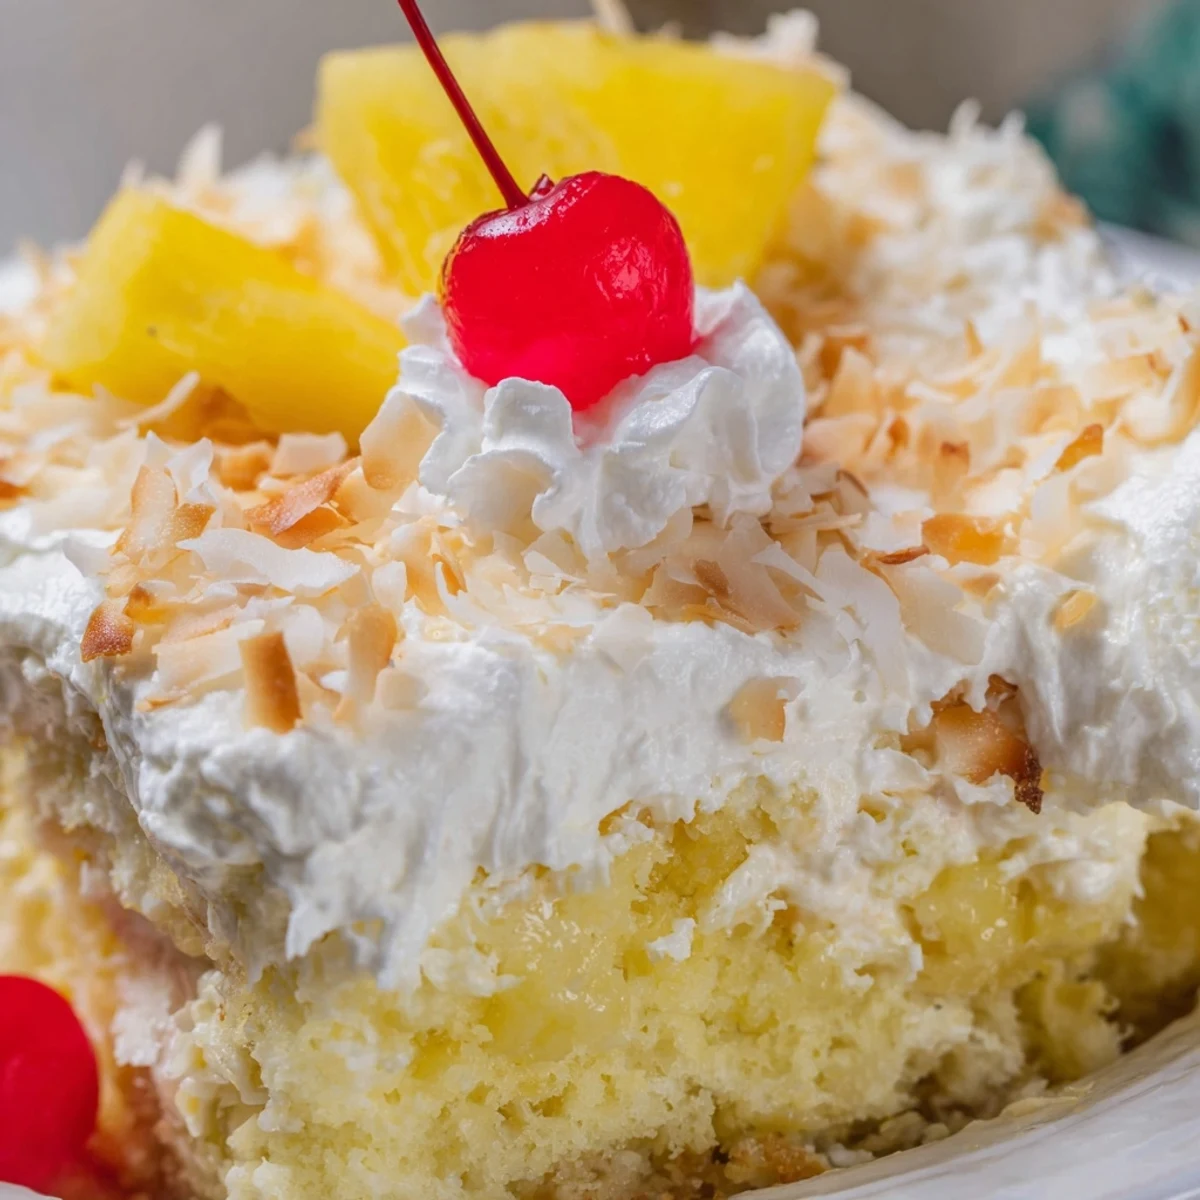
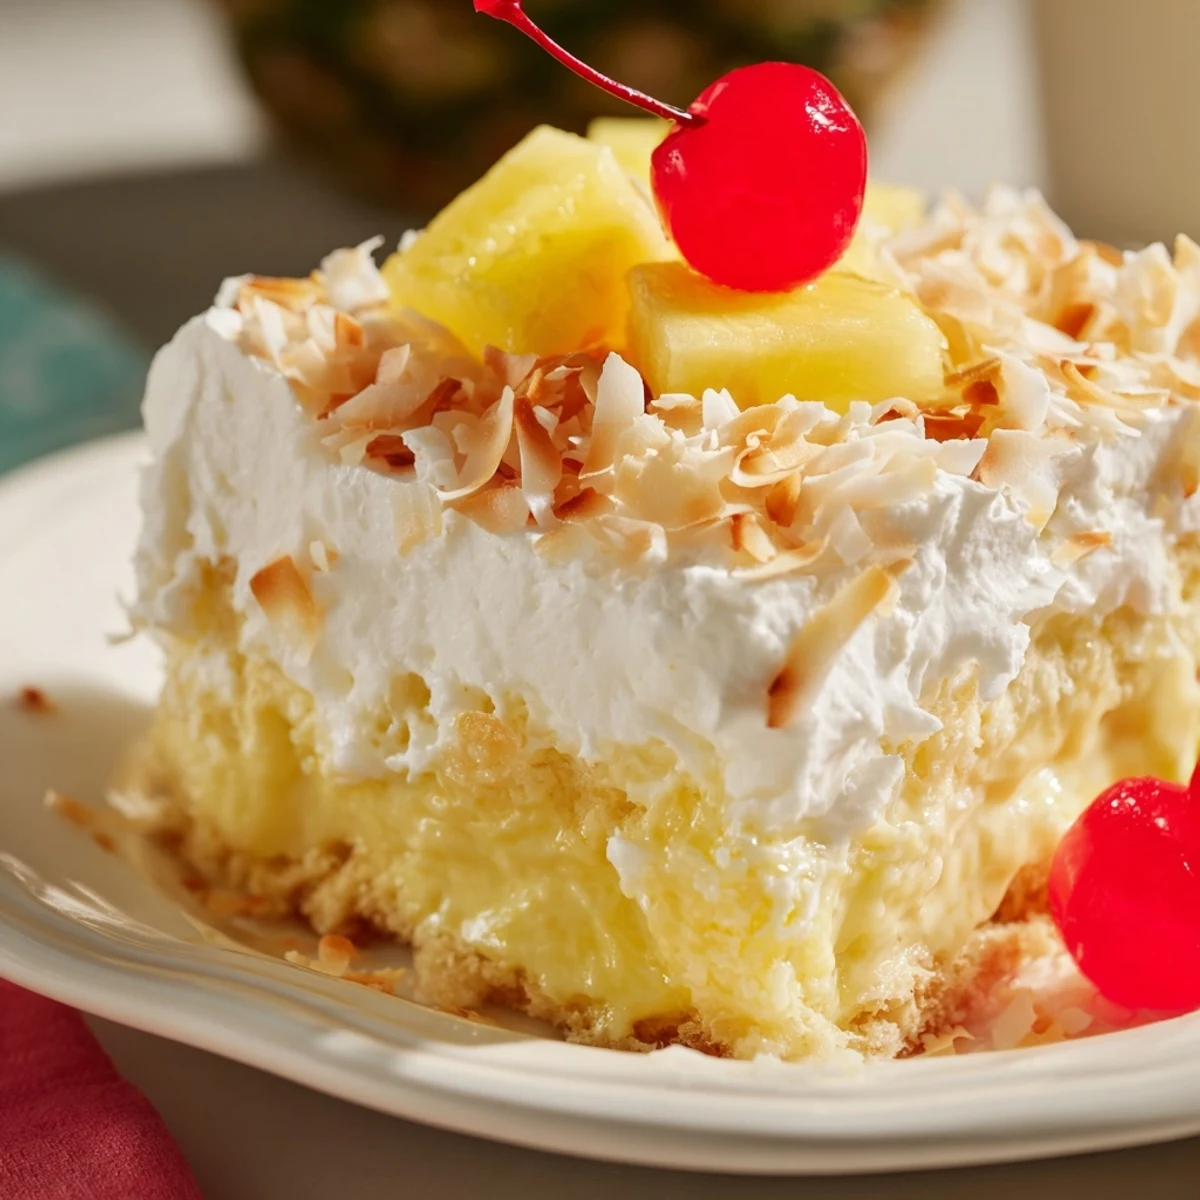
Save This tropical dessert starts with a moist yellow cake base enriched with crushed pineapple. After baking, the warm cake is poked with holes and soaked in a creamy mixture of sweetened condensed milk and coconut milk, creating incredibly moist layers. A vanilla pudding layer adds extra creaminess before the finished cake is topped with fluffy whipped topping and garnished with toasted coconut flakes. Fresh pineapple chunks and maraschino cherries make optional colorful additions. This make-ahead dessert requires at least one hour of chilling time and serves twelve generous portions.
My grandmother introduced me to poke cakes one humid July when the air conditioning broke and nobody wanted to turn on the oven for longer than absolutely necessary. She called it her magic cake because something about those holes transforming a simple yellow mix into an impossibly moist dessert felt like a kitchen miracle. The tropical version became my go-to summer emergency dessert when neighbors dropped by unexpectedly and I needed something impressive ready in under an hour.
I brought this to a beach house potluck last summer and watched three different people ask for the recipe before they even finished their first slices. Something about coconut and pineapple together makes people instantly relax like they are on vacation even if they are just sitting at their own kitchen table.
Ingredients
- Yellow cake mix: The humble foundation that absorbs all those tropical liquids and transforms into something extraordinary
- Crushed pineapple with juice: Do not drain this because that juice adds moisture and natural sweetness that water simply cannot replicate
- Sweetened condensed milk and coconut milk: This duo creates the most luxurious soaking liquid that permeates every single hole
- Instant vanilla pudding mix: Forms a creamy layer between cake and topping that adds another dimension of texture and flavor
- Whipped topping: Light and fluffy contrast to the dense creamy soaked cake beneath
- Toasted coconut: The toasting step is nonnegotiable because raw coconut on top adds texture without that gorgeous nutty flavor
Instructions
- Bake the foundation:
- Combine your yellow cake mix with eggs oil water and that entire can of crushed pineapple including every drop of juice. Pour into your greased 9x13 pan and bake at 350°F for about 30 minutes until golden and a toothpick comes out clean.
- Make the magic holes:
- Let the cake rest for exactly 10 minutes then grab a wooden spoon handle and poke holes about an inch apart across the entire surface. Do not be shy about these holes because they are the highways for all that delicious filling.
- Pour the tropical soak:
- Whisk together your sweetened condensed milk and coconut milk then slowly drizzle this mixture over the warm cake letting it disappear down each hole. Watch how the cake drinks it up like a thirsty traveler.
- Layer the pudding:
- Whisk your vanilla pudding mix with cold milk and any reserved pineapple juice until thickened then spread it evenly across the surface. This creates that creamy middle layer that makes every bite feel luxurious.
- The chill factor:
- Cover and refrigerate for at least one hour but honestly two hours is better because all those flavors need time to become friends in the cold.
- Finish with flair:
- Spread your whipped topping over the chilled cake then shower it with toasted coconut. Add fresh pineapple chunks or cherries if you want it to look like something from a bakery window.
 Save
Save This cake became legendary in our neighborhood after I brought it to a block party and the host texted me the next day asking if she could serve it at her daughters wedding shower.
Making It Your Own
Sometimes I swap the pineapple for drained marascherries and their juice when I want something that feels more like a classic diner dessert. You can also use chocolate cake mix with chocolate pudding and call it mud pie cake because the technique works with literally any flavor combination you can imagine.
The Make Ahead Magic
This cake actually tastes better on day two when all those liquids have had even more time to work their way through every crumb. I have made it the night before a party then woke up and added the topping which is a huge time saver when you are hosting.
Serving Suggestions
Keep this cake cold until the moment you serve it because the contrast between chilled creamy cake and room temperature air makes it taste even more refreshing. Cut smaller squares than you think you need because this dessert is rich and people will want to try it even if they claim they are too full for dessert.
- Use a wet knife to cut slices for cleaner edges and better presentation
- Save some toasted coconut to sprinkle right before serving so it stays perfectly crisp
- Chill your serving platter first so the cake stays cold longer during outdoor gatherings
 Save
Save Every time I make this cake I think about how the best recipes are often the ones that teach us something about patience and transformation both in the kitchen and everywhere else.
Recipe Q&A
- → Can I make this cake ahead of time?
-
Yes, this dessert actually improves when made ahead. You can prepare it up to 24 hours before serving. The extended chilling time allows all the creamy fillings to fully absorb into the cake layers, making it even more moist and flavorful. Store it covered in the refrigerator until ready to serve.
- → What does 'poke cake' mean?
-
A poke cake is a dessert where holes are poked into the warm cake after baking. These holes are then filled with liquid mixtures like sweetened condensed milk, fruit juices, or creamy fillings. The technique creates pockets of flavor throughout the cake and results in an exceptionally moist texture.
- → Can I use fresh pineapple instead of canned?
-
While canned crushed pineapple with juice works best for the batter because it provides the right consistency and sweetness, you can use fresh pineapple. Simply crush fresh pineapple finely and add a tablespoon of sugar to mimic the syrup from canned fruit. For the filling, you may need to supplement with extra pineapple juice.
- → How do I toast coconut flakes properly?
-
Toasting coconut is simple but requires attention. Place shredded coconut in a dry skillet over medium heat. Stir constantly and watch closely as coconut can burn quickly. Toast for 3-5 minutes until golden brown and fragrant. Immediately transfer to a plate to stop the cooking process. You can also toast it in the oven at 350°F for 5-7 minutes, stirring halfway through.
- → Can I substitute the whipped topping?
-
Absolutely. While store-bought whipped topping provides stability, you can use homemade whipped cream. Whip 2 cups of heavy cream with 2 tablespoons of powdered sugar until stiff peaks form. Note that homemade whipped cream is softer and may not hold up as long at room temperature, so keep the dessert chilled until serving.
- → How should I store leftovers?
-
Cover the baking pan tightly with plastic wrap or transfer slices to an airtight container. Store in the refrigerator for up to 4-5 days. The texture remains excellent, though the toasted coconut on top may gradually soften. For best results, add fresh toasted coconut just before serving leftovers.