 Save
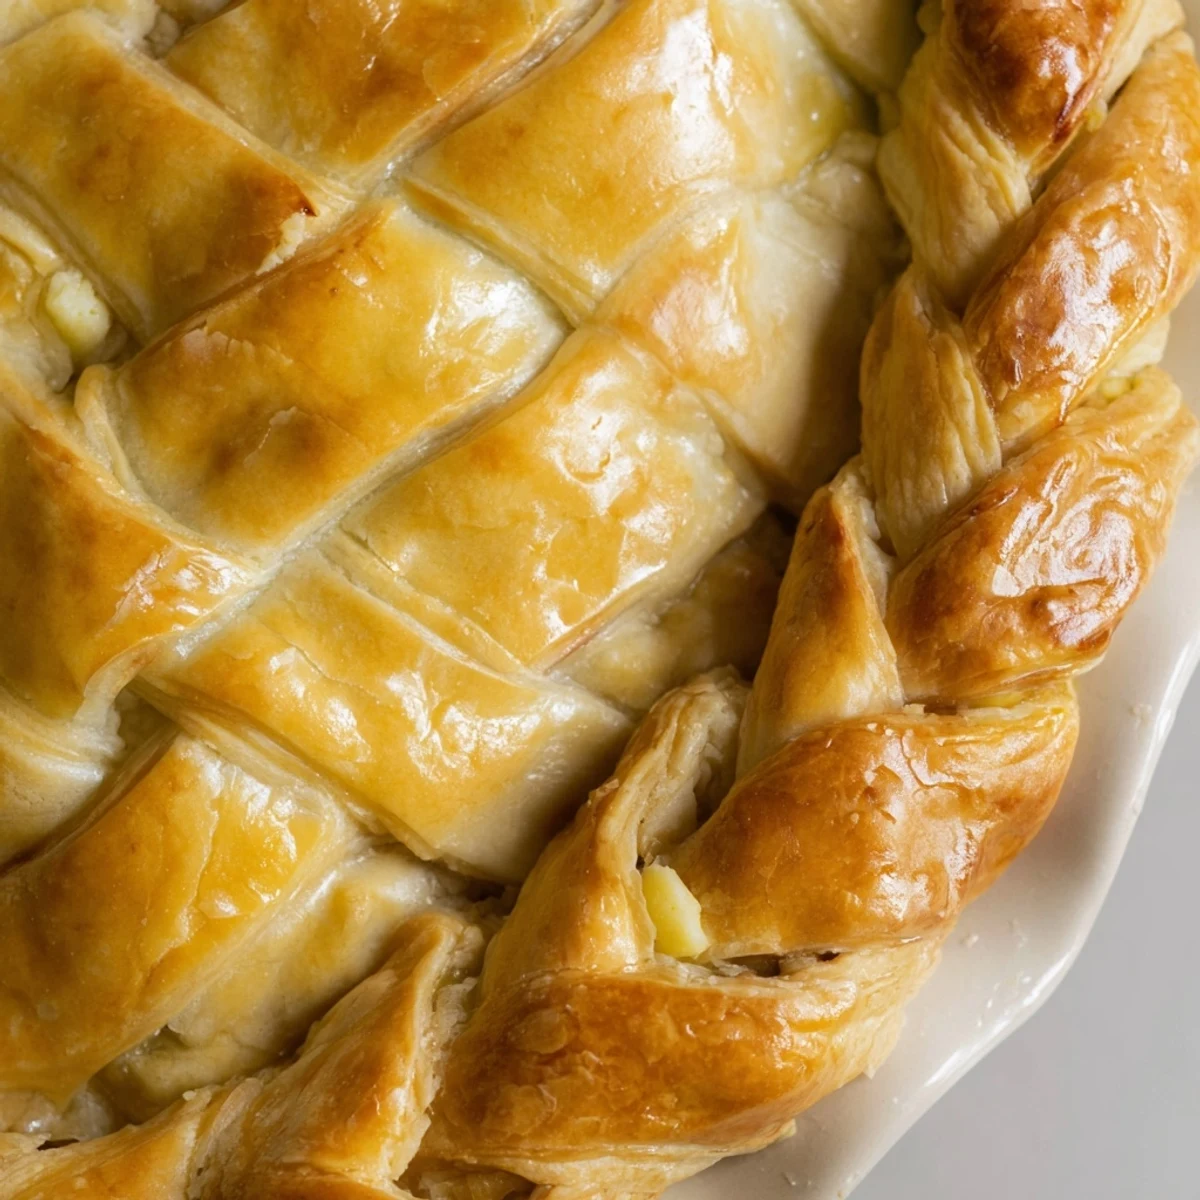
Save Transform ordinary pies into showstoppers with a fishtail braid crust. This decorative technique weaves four strips of pastry dough into an elegant braided border that looks professionally finished. The process takes about 45 minutes total, including chilling time, and works beautifully with any pie filling. The braided edge not only adds visual appeal but also creates a thick, golden crust that's perfect for holding onto while eating.
The first time I attempted a decorative crust, my kitchen looked like a flour explosion had happened. I was trying to impress dinner guests with what I called an elegant lattice, but it turned out more like a wonky puzzle. That failure sent me down a rabbit hole of pastry techniques, and the fishtail braid became my redemption story. Now its the one detail that makes people pause and ask how on earth I managed something so bakery-worthy.
My sister visited last autumn and watched me assemble this crust, absolutely mesmerized by the braiding process. We ended up making an entire afternoon of it, playing with different strip widths and debating whether four-strand or three-strand braids looked more impressive. That pie disappeared faster than any I have ever made, and I am fairly certain people were just excited about eating something so pretty.
Ingredients
- All-purpose flour: The foundation of your crust. Keep some extra nearby for dusting your work surface.
- Cold unsalted butter: Cold butter creates those coveted flaky layers. Cut it into cubes before starting so it stays chilled.
- Salt: Enhances flavor and balances the sweetness in dessert pies.
- Sugar: Adds subtle sweetness and helps with browning. Skip for savory applications.
- Ice water: Essential for keeping butter cold. Add just enough for dough to come together.
- Egg and milk: Combine for egg wash to give your braided crust that gorgeous golden finish.
Instructions
- Mix the dry ingredients:
- Whisk flour, salt, and sugar in a large bowl until everything is evenly distributed.
- Cut in the butter:
- Work cold butter into the flour with a pastry cutter or your fingertips until the mixture looks like coarse crumbs with some pea-sized pieces remaining.
- Add ice water:
- Drizzle in ice water a tablespoon at a time, mixing gently until the dough just holds together when squeezed.
- Chill the dough:
- Divide dough into two discs, wrap tightly, and refrigerate for at least one hour. This relaxes the gluten and firms the butter.
- Prepare the pie shell:
- Roll one disc to fit your 9-inch pie plate. Press it in gently, trim the edges, and return to the fridge while you make braids.
- Cut the strips:
- Roll the second disc to about 1/4 inch thickness and cut twelve even strips, each about 1/2 inch wide.
- Create the braid:
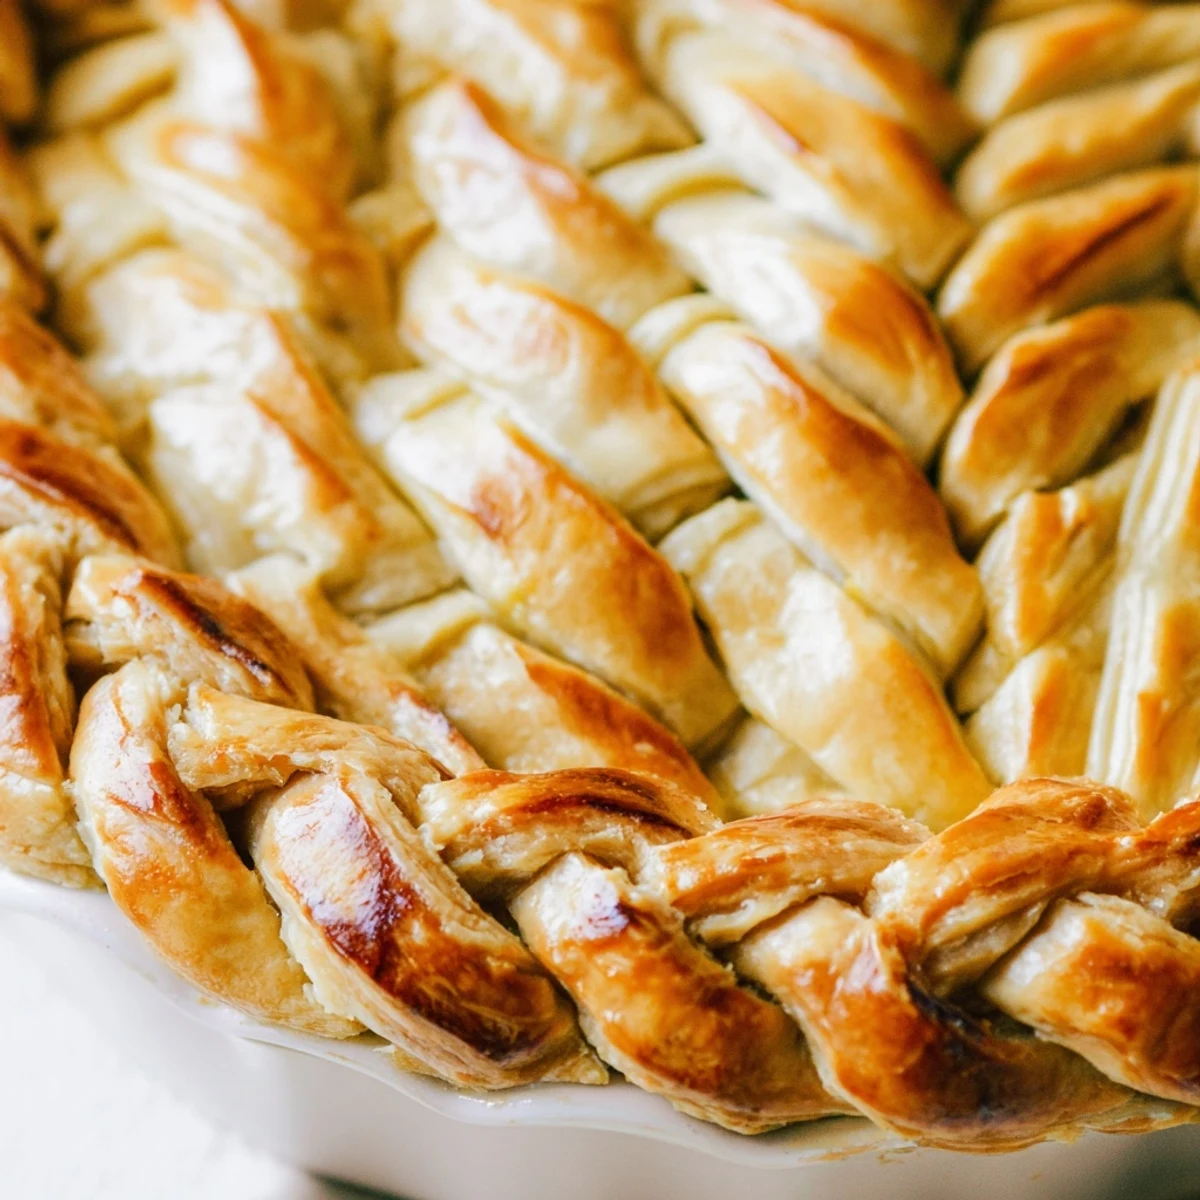
- Group strips into sets of four. Pinch tops together, then cross the leftmost strip over, under, and over the remaining strips, repeating with each new leftmost strip.
- Attach the braid:
- Transfer braids to the chilled pie edge, pressing gently to seal. Use a dab of water if needed to help them stick.
- Chill again:
- Refrigerate the assembled pie for 15 minutes to firm everything up before baking.
- Apply egg wash:
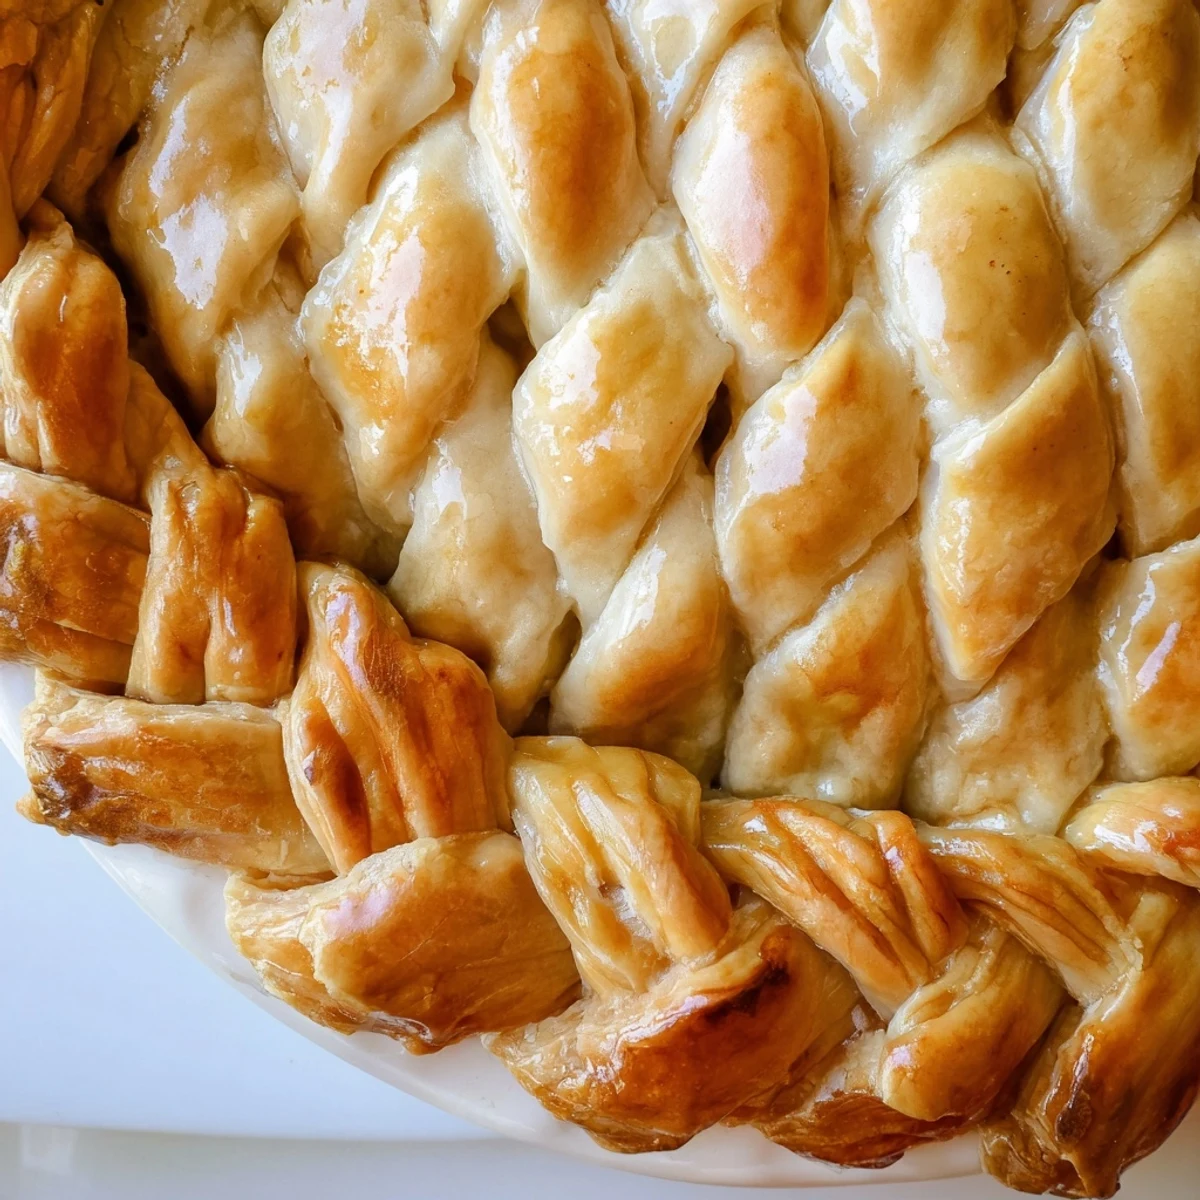
- Brush the braided edge with beaten egg mixed with a splash of milk for that professional bakery shine.
- Bake to golden perfection:
- Bake at 400 degrees Fahrenheit for 12 to 15 minutes until beautifully golden. If blind baking, use pie weights and remove them halfway through.
 Save
Save This crust has become my go-to for bringing to potlucks and holiday gatherings. Something about that woven edge makes people feel genuinely cared for, like you put extra heart into the meal just for them.
Making It Your Own
Once you master the basic braid, try experimenting with different strip widths or adding a pinch of cinnamon to the dough for fruit pies. For savory versions, incorporate herbs like thyme or rosemary directly into the flour mixture.
Timing Is Everything
The most common mistake I see is rushing the chilling steps. Cold dough braids cleanly and holds its shape in the oven, while warm dough slumps and loses definition. Plan ahead and embrace the refrigerator pauses.
Troubleshooting Your Braids
If your strips keep breaking, the dough is probably too cold or too dry. Let it warm slightly for a few minutes or add a teaspoon of water. Practice the braiding motion on table scraps before committing to your final strips.
- Keep a small bowl of water nearby for sealing edges
- Work quickly once dough is out of the refrigerator
- Do not fret about perfect imperfections, they add character
 Save
Save There is something deeply satisfying about creating something so beautiful with your own hands. Hope this fishtail braid brings as much joy to your kitchen as it has to mine.
Recipe Q&A
- → What makes fishtail braiding different from regular braids?
-
Fishtail braiding uses four strips of dough instead of three, creating a wider, flatter braid with a distinctive herringbone pattern. The technique crosses strips over and under in an alternating pattern, producing a more intricate, woven appearance that resembles a fishtail. This creates a thicker, more substantial border than standard three-strand braids.
- → Can I make the braids ahead of time?
-
Absolutely. You can prepare the braided strips and store them between parchment paper in the refrigerator for up to 24 hours before assembling. For longer storage, freeze the uncooked braids on a baking sheet, then transfer to an airtight container for up to 3 months. Thaw in the refrigerator before applying to your pie crust.
- → Why does my dough shrink when braiding?
-
Dough shrinks when it's too warm or hasn't rested long enough. Always keep your dough chilled and work quickly. If strips become difficult to handle, return them to the refrigerator for 10-15 minutes. Proper resting allows gluten to relax, making the dough more pliable and less likely to snap back during braiding.
- → What fillings work best with braided crusts?
-
Braided crusts pair beautifully with both sweet and savory fillings. Fruit pies like apple, cherry, or berry showcase the decorative edge perfectly. For savory options, try chicken pot pie, quiche, or vegetable tart fillings. The sturdy braided border helps contain juicy fillings and adds a satisfying crunch to every bite.
- → How do I prevent the braid from burning?
-
Brush the braids with egg wash just before baking, which helps them brown evenly. If the braid begins to darken too quickly, tent the edges with aluminum foil. For filled pies, bake at the temperature specified in your filling recipe. When blind baking, keep a close eye after 12 minutes and remove weights once golden.
- → Can I use store-bought dough?
-
Yes, refrigerated pie dough works well for braiding. Let it thaw according to package instructions, then roll out and cut into strips. Store-bought dough may be slightly softer, so work quickly and chill frequently. Homemade dough generally holds its shape better during braiding, but both options produce lovely results.